Search Console (Webmaster Tools): Getting started
Lesson 5 of 6 of our beginner's guide to SEO
What is Search Console?
Google Search Console (formerly Webmaster Tools) gives you the ability to see a website in the same way Google (Googlebot) does.
Search Console monitors your website's health, and will alert you of any problems it encounters, such as:
- Indexing issues, such as Googlebot being unable to access your site
- Malicious code and hacking
- Broken links
Search Console also gives you information about your website's performance, and allows you to further inform Google of your site preferences.
Search Console is an essential part of any website, and it is key to making sure your site is Google-ready.
Think of it as a health-check for your website. Without it, your site may not reach its full potential.
- Table of Contents
- 1. What is Search Console?
- 2. Getting verified
- 3. Important features in Search Console
- 4. Dashboard
- 5. New and important
- 6. Current status
- 7. Sitemaps
- 8. Sitelinks
- 9. Search analytics
- 10. Content keywords
- 11. Links to your site
- 12. HTML improvements
- 13. Crawl errors
- 14. Check out our next lesson
- 15. Lessons
Getting verified
In order to use Google Search Console, you will first need to verify your site. Thankfully, this is relatively simple, though you may require the assistance of your web designer.
To begin, visit the Search Console site and sign in. If you don’t already have a Google account, just follow the sign-up instructions.
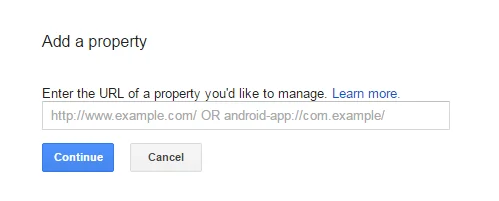
Once you are in, hit the red "Add a property" button at the top right of the screen. When the "Add a property" box appears, just enter the full URL of the website you want to add to Search Console.
Now it's time to verify your ownership of the site.
There are a couple of ways of doing this. If you already have a Google Analytics account, just click the "alternative methods" tab and check the "Google Analytics" box.
You can then click "verify", and Google will check your website for its Google Analytics code, and link it with Search Console to confirm the website is yours.
Failing that, the recommended method is HTML verification.
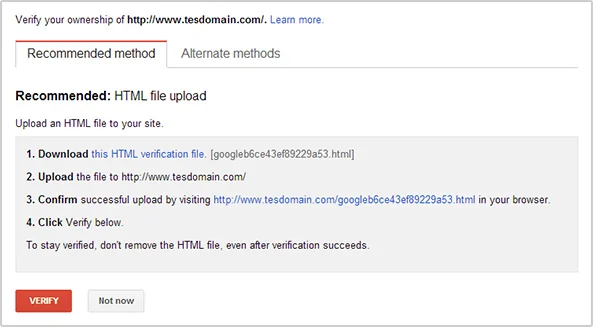
Follow the instructions on screen, and download the HTML verification file, which contains an identification code.
Simply upload this file to the root folder of your website. This should be just a 2-minute job for your web designer.
Once the file is uploaded, you can return to this page and click "verify".
By placing this file on your website, you have now proven to Google that you own the site and that you are allowed to receive Search Console data.
Important features in Search Console
Search Console offers a huge amount of in-depth information to website owners, but not all of it is absolutely necessary to know when getting started.
To ensure this beginner's guide stays a beginner's guide, we'll be going over some of the basic areas to pay attention to.

Dashboard
Once verified, you should be taken to your dashboard, which shows an overview of the important data Search Console has about your website.
Let's go over some of the key areas.
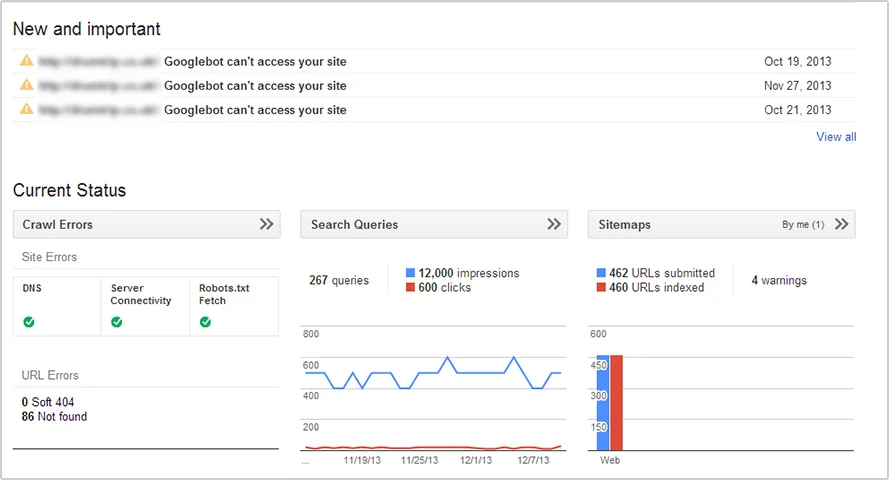
New and important
At the top of the page, you'll see any important alerts about your site.
The most common message you are likely to see here is that Googlebot, for whatever reason, was not able to access your website.
Other messages you may receive could be notifications of a Google penalty, or of any major changes you or someone else has made to your account.


Current status
This functions as a brief overview of some of the key performance stats concerning your website.
Starting on the left, you’ll first see any recent crawl errors that were found by Googlebot.
Next is "Search Queries", which shows you the number of times your website appeared in Google when people searched for particular keywords and phrases.
Finally, on the right, you will find the sitemap data: a list of all of the URLs on your website.
Sitemaps
One of the most useful functions of Search Console is that it allows you to upload a sitemap to Google directly.
This is excellent for a webmaster, because instead of just waiting for Googlebot to find you, you can give the information to Google directly.
This helps new websites get indexed and added to Google a lot quicker.
As touched on earlier in lesson four, instead of a literal map of all of the web pages listed on your website, an XML sitemap is a file containing a plaintext list of every page on your site.
An XML sitemap is created just for search engines, and serves no real purpose for human users.
To create an XML sitemap, you can use a free online tool such as https://www.xml-sitemaps.com to easily and automatically generate one.
Just pop in your website's URL and hit "start". The tool will search for every single page on your website and, when completed, will allow you to download the sitemap (which will be called "sitemap.xml").
Once downloaded, simply upload the "sitemap.xml" file to your website. Once again, this should be a very brief job for your web designer.
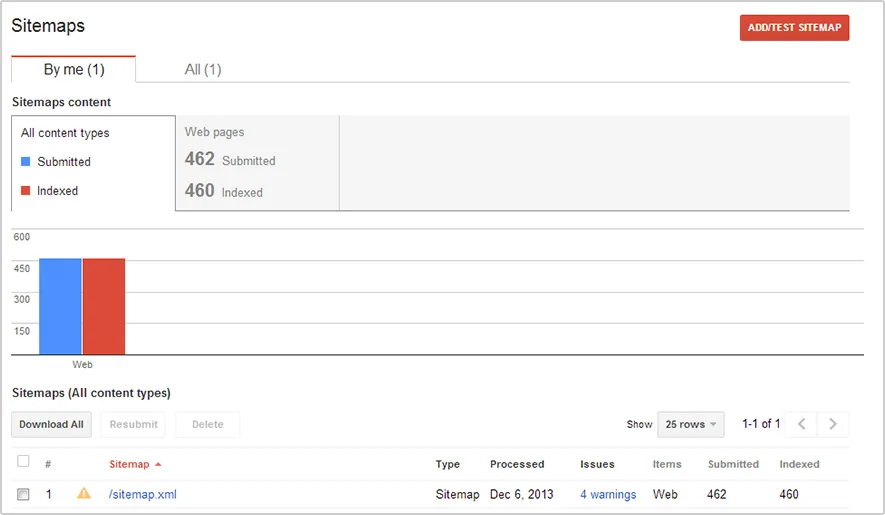
You can now submit the sitemap to Google. Return to Search Console and look for the "Crawl" option on the left-hand-side navigation bar, then select "Sitemaps".
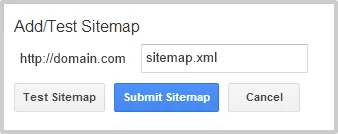
Next, click the red "Add/Test Sitemap" button on the top right hand side of the screen.
Your domain name will already be pre-populated, so just add the name of your sitemap (see example below) and submit.
Every time you add a new page to your website, it's worth creating a new XML sitemap and uploading it.
Google will periodically check your sitemap for any changes, so it's wise to keep it updated.
For small websites with just a few pages, Google will not have any problem keeping tabs on the size of the site. But for e-commerce websites or blogs with hundreds or thousands of pages, keeping your sitemap fresh (and Google in the loop) is a must to ensure that all your pages are indexed and therefore findable.
Be sure to check the sitemaps page on Search Console regularly. This way, you can stay abreast of any errors, and check on pages Google might be having problems indexing.
Sitelinks
If you have searched Google, you've no doubt seen Sitelinks already.
Sitelinks provide links to different pages under the primary result/homepage.
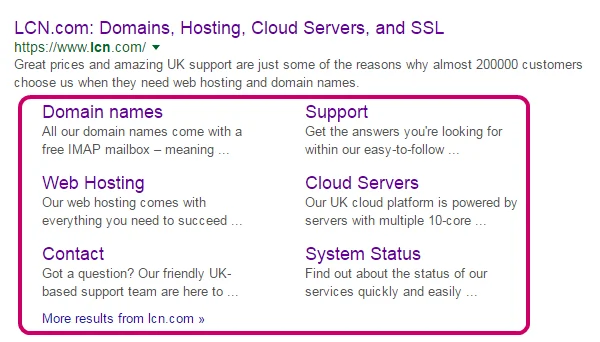
As you can see, the primary result is "www.lcn.com", but below that, there are also links to other pages on the website.
Not only are Sitelinks useful to the searcher, but their inclusion also means you get a little more visibility on the search engine results page.
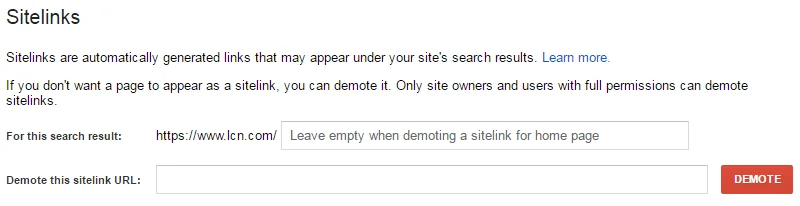
Search Console gives you an element of control as to what displays here.
Unfortunately, you cannot choose what pages are shown as Sitelinks, but you can demote certain pages from showing.
Pages to consider demoting are ones that offer searchers no real value.
For example, URLs leading to the "basket" or "account" page of an e-commerce website are pages you may want to demote.
To demote a URL, just look for "Site Appearance" on the left-hand navigation bar, and click "Sitelinks". Simply add the URL you wish to demote, and click the red "Demote" button.
Search analytics
The Search Analytics page can be found under the "Search Traffic" option on the left-hand navigation bar in Search Console.
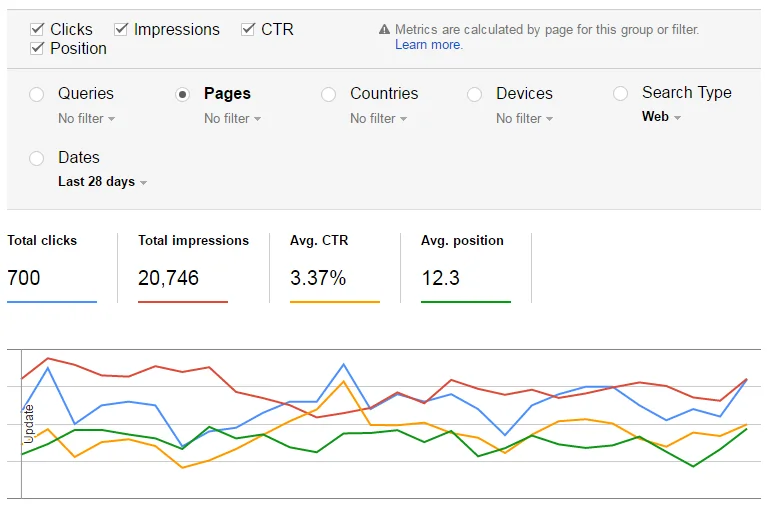
From here, you can select to view a high-level view of the top queries and pages on your website.
Top queries are search terms users have entered into Google.
There are several metrics you can view here: impressions, clicks, CTR and position.
The Impressions heading shows how many times your website has appeared within the Google search results page.
Clicks denotes how many times people have gone on to click through to your website. Data gleaned from here shows your historic average position in search rankings, along with any other changes.
CTR stands for “click-through-rate”. This is calculated by the click count divided by the impression count. In other words, the percentage of people who saw your page in the results, and actually clicked through.
And finally position, which is the average position of a particular result.

Content keywords
Listed under the "Google Index" section of Search Console, the Content Keywords page provides insight into what Google considers to be the main topic of your website.
If you are a web hosting and domain registrar like LCN, you can expect to see keywords such as "hosting", "domain", "register", and "website".
If you are seeing irrelevant words at the top of this list, or words you do not wish your site to be associated with, you might want revisit your website copy to better reflect your business and its services.
Clicking on any of these keywords will show you why Google feels that particular keyword is important to your site, and it will also display the top pages in which the keyword appears.
Links to your site
Search Console will display domains that link to you with the greatest frequency, and will show you which individual pages on your website are linked to most often, as well.
Additionally, you can export your backlinks and analyse the kinds of websites that are linking to you.
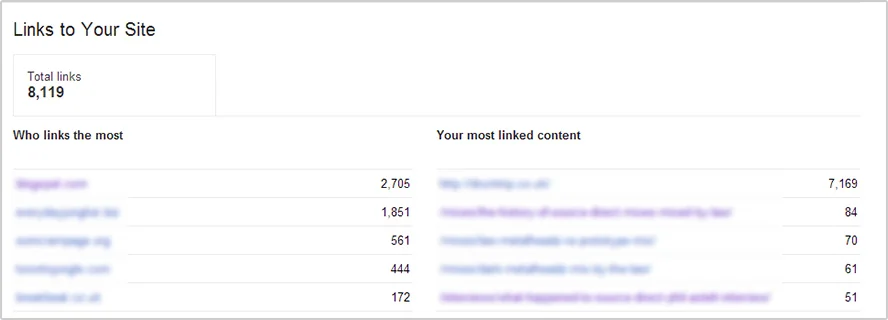
You may find some surprises here, but ideally, you should see URLs that are relevant to your page, subject and industry. Anything too irrelevant or suspicious here could eventually result in Google issuing you a penalty.
It's important to note that not all of your backlinks will be shown.
For some mysterious reason, Google likes to keep webmasters on their toes by not divulging every single link they find. Instead, they give you a broad snapshot of what's out there.
Find the links they miss with our beginners guide to finding all your backlinks.
HTML improvements
The Search Appearance section of Search Console enables you to see your site through the eyes of Googlebot crawlers.
You can ensure that everything is indexed, and identify areas that may not be displaying correctly.

Every page should be unique on your website, and Google will check all of your pages to ensure that you have all title tags and meta-descriptions in place, and to see if duplicates exist.
If you find any duplicates, be sure to rewrite your title or description to better reflect the content of that page.
Crawl errors
Crawl errors show any instances of Googlebot not being able to access your site.
You’ll see associated errors Googlebot encountered such as 404 errors (page not found) or server connectivity issues.
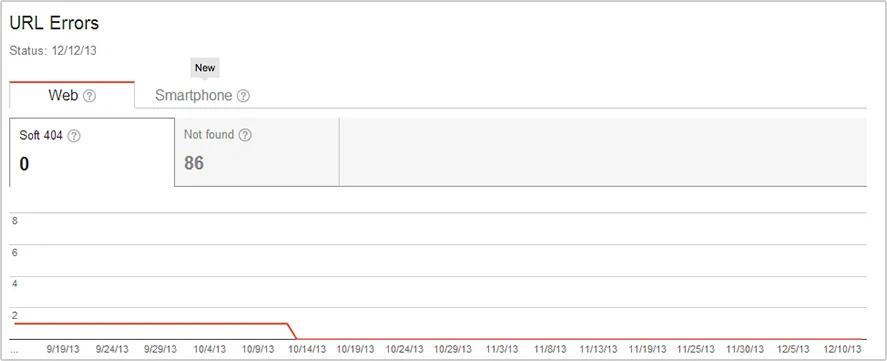
404 errors will need immediate attention.
Check the status of these pages and fix them, or if you’ve deliberately removed them, make sure each link redirects to another active, relevant page on your website.
Ideally, you will want to fix any 404 errors that Search Console reports — for two reasons.
First, a 404 error is never a good experience for a human visitor. It’s just frustrating, and visitors are likely to abandon your web page altogether upon discovering a broken link.
Second, it's great when someone links to a page on your website, but if the page they are linking to is broken, that link is no longer valuable.
Always make sure you redirect a broken link to another relevant page on your website!
This concludes our SEO guide. As you continue to use Search Console you’ll discover many other more detailed features and statistics not included here, but in time, they are all worth getting to know!