How to set up your email account in Outlook 2013
This guide shows you how to set up Outlook 2013 with your email address.
Please make sure that you have the email address for the mailbox you are looking to set up as well as the password. If you can’t remember these details, you can check and reset them from your LCN account.
You will also need to ensure you have Authenticated SMTP enabled. You can find out how to do this here.
If you’re looking for a guide on other versions of Outlook, you can find these below:
How to set up your email account in Outlook 2010
How to set up your email account in Outlook 2016
How to set up your email account in Outlook 2019
How to setup your email account on Outlook for Mobile
How to set up your email account in Outlook 2019 for Mac
Let’s get started…
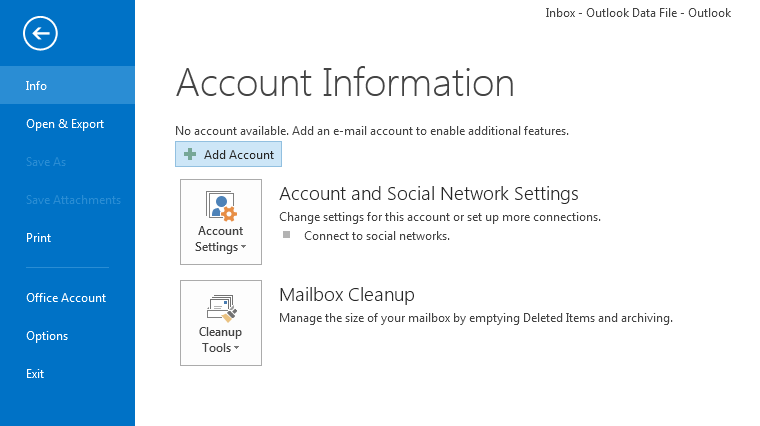
- Select the File tab on the far left and then click the Add Account button.
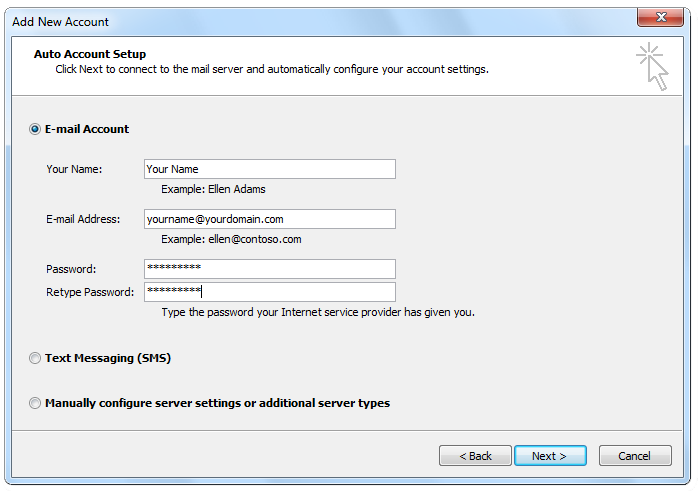
- Choose the E-Mail Account option and enter your details in the fields. Once all the fields have the correct information, select Next.
- If you receive a pop up box which states Allow this website to configure yourname@yourdomain.com server settings, simply select Allow and this will create your mailbox using the LCN.com server settings.
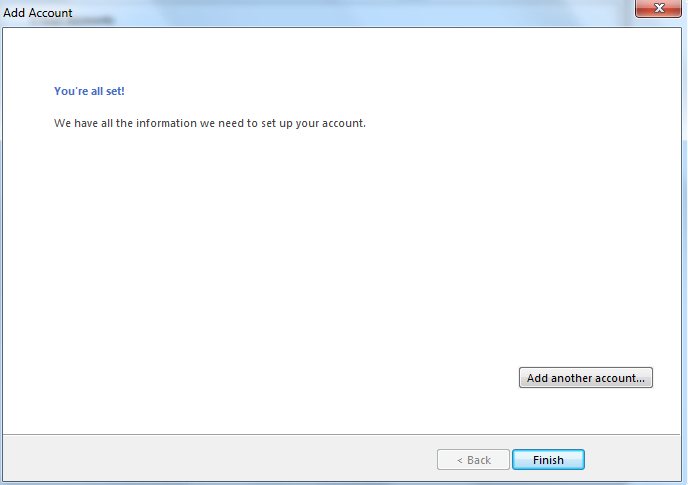
- You should now receive a Congratulations message, select Finish and your mailbox will finish setting up. If this does not work for you, simply put a tick in the Manually configure server settings box, select Next and follow the next step below.
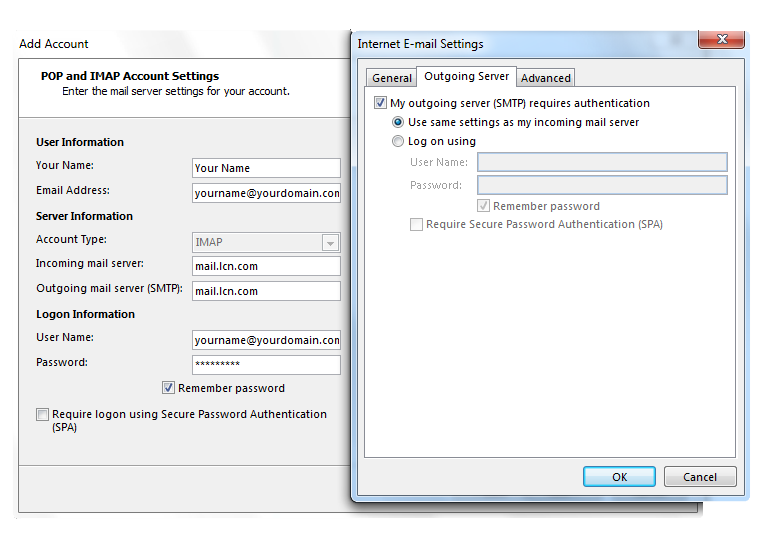
- On the Add New Account window you’ll now need to enter the following information:
- Your name and email address in the User Information section.
- Select IMAP in the Account Type dropdown.
- Enter mail.lcn.com into the Incoming mail server text box.
- Enter mail.lcn.com into the Outgoing mail server (SMTP) text box.
- Enter your full email address into the User Name text box.
- Enter your email address password into the Password text box.

- Then click the More Settings button. Tick My outgoing server (SMTP) requires authentication and ensure Use same settings as my incoming mail server is selected.
- When you click Close, Outlook will now test your username and password. Once it has finished click the Close button, then the Finish button the next screen and your email account will be set up and ready to go.
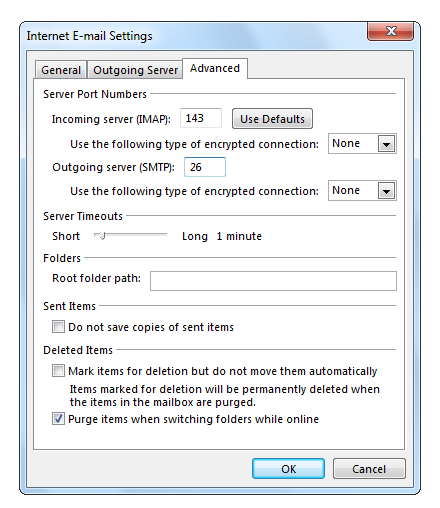
Please Note: Depending on your internet service provider, the default port of 25 should allow you to send e-mail. If you find that you are having problems sending mail, the first step would be to change the port to 26 or 587. This can be done by choosing More settings and then Advanced and ensuring that the outgoing server (SMTP) is set to 26 or 587.