How to add a post or page using WordPress
Adding posts and pages to your WordPress site
Adding a post
By default, you’ll see WordPress has already created the first post on your site for you – but we’re going to delete it and create our own.
Login to your dashboard and hit “Posts”. Here you’ll see the default “Hello world!” post WordPress has created for you. Just hover over it and then hit the “Trash” link.
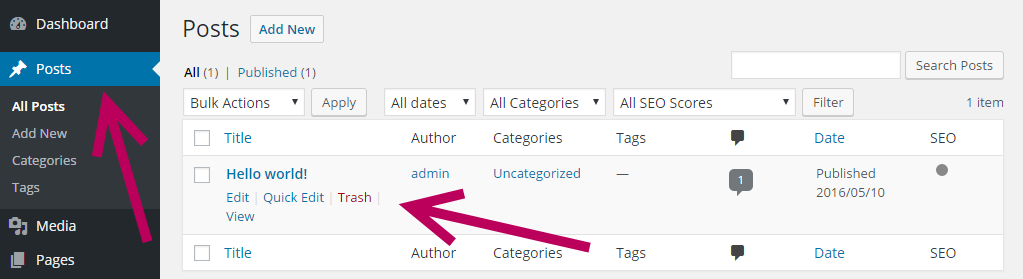
Then click “Add New” to start creating a new post.
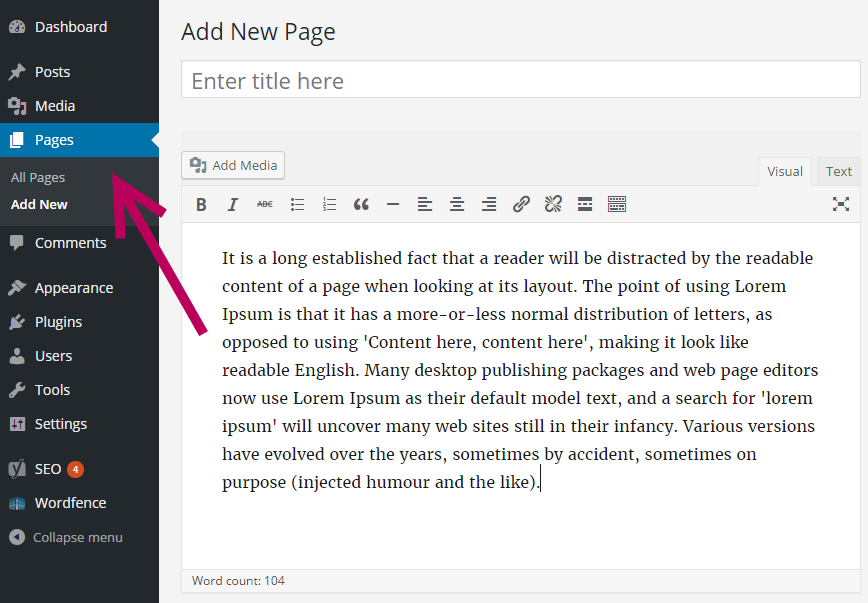
You’ll then be presented with the post creator. Let’s take a look at that page in more detail…
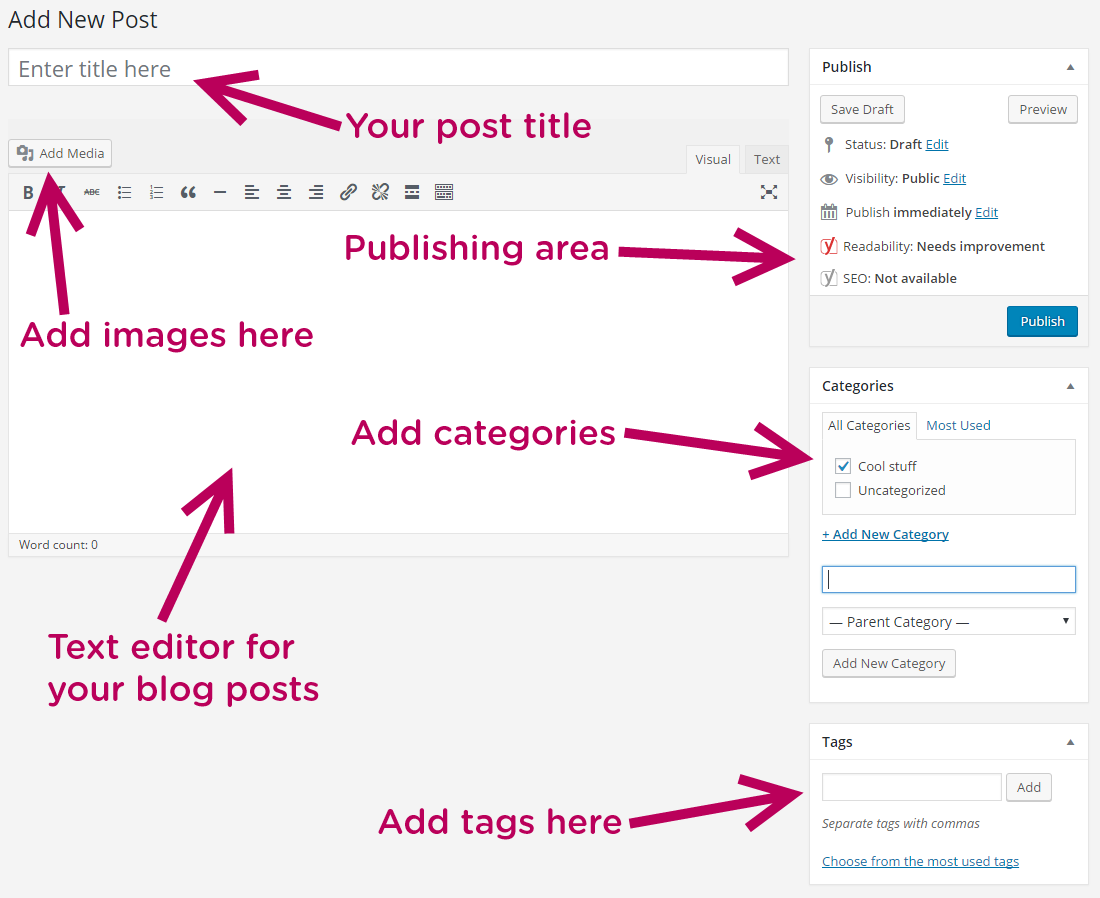
As you can see, the areas are pretty self-explanatory, but let’s go over them in a little more detail.
“Enter title here”
You guessed it… you add your post title here. Make sure you title is highly relevant to the content/subject of your post, and try and keep it to around 55 characters – Google won’t show much longer titles in their search engine result.
“Add media”
When you want to add an image or video into your post, just click here. You can also drag and drop images directly into your post.
Visual / text editor
WordPress’ default visual rich text editor behaves in much the same way as any other text editor you have used before. You can copy and paste your content from Microsoft Word with or without formatting, or just use the editor which has a wealth of formatting options of its own.
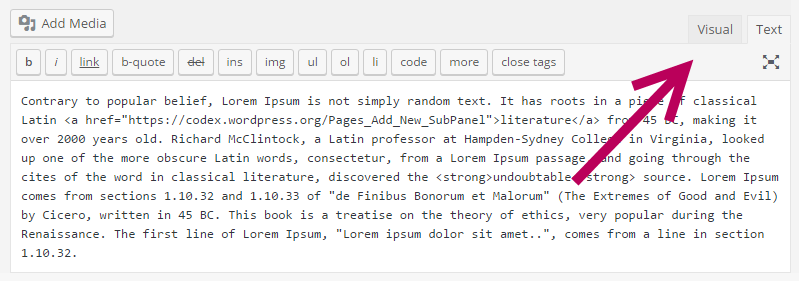
You can also switch from the “visual” view to the “text” view (see the tab at the top right of the editor). From here you can see the raw HTML code for the post – very useful when adding in your own custom code (e.g. when embedding a YouTube video).
The editor is very easy to use and you can simply undo any mistakes you make.
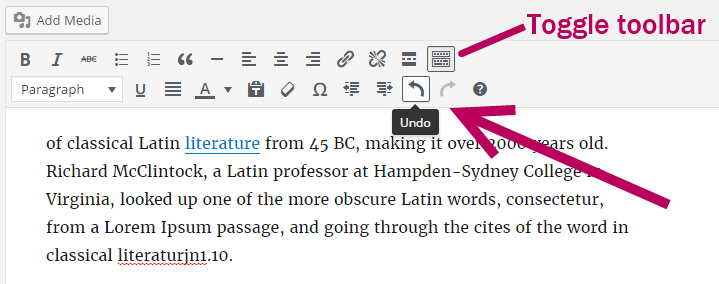
Hit the “Toggle toolbar” button to bring up more rich text editor options. You’ll then see the “undo” button – this will get you out of some tight spots.
The best way to get to grips with WordPress is to just dive right in without any fear! You will make mistakes along the way, but this is how we learn.
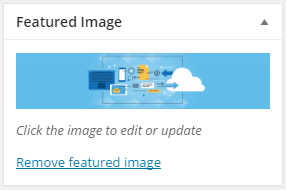
Featured image
On the right hand-side column of the “post” page you’ll see an option for a “Featured Image”.
This is where you can upload a single image to be “featured” on that particular post. You can still add as many images into the body of your post as you like, but the featured image is the key image chosen to represent your post.
How this featured image is displayed on your site usually depends on the theme you’re using.
Most commonly, thumbnail images (small images, representing your post on the blog homepage) are pulled from your “Featured Image”.
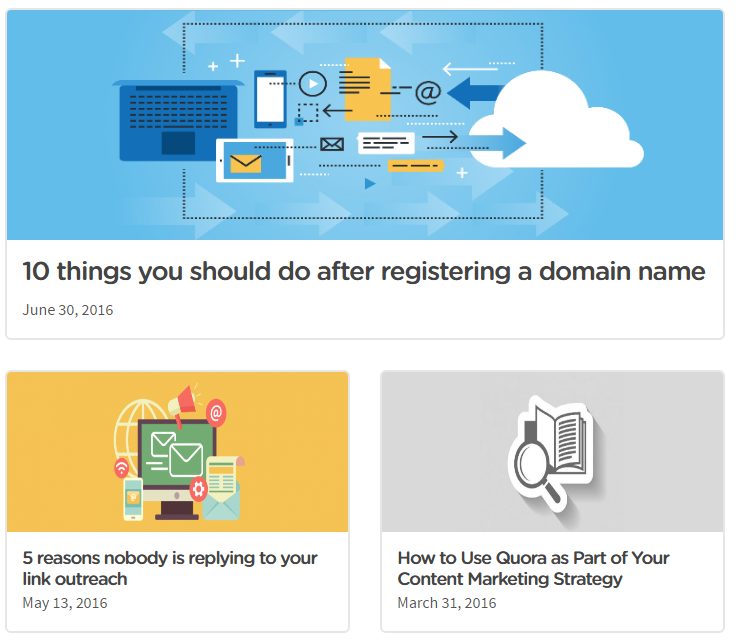
Featured images on the LCN Blog homepage
Likewise, social media thumbnails (when you share a post on a social network) are also pulled from your “Featured Image”.
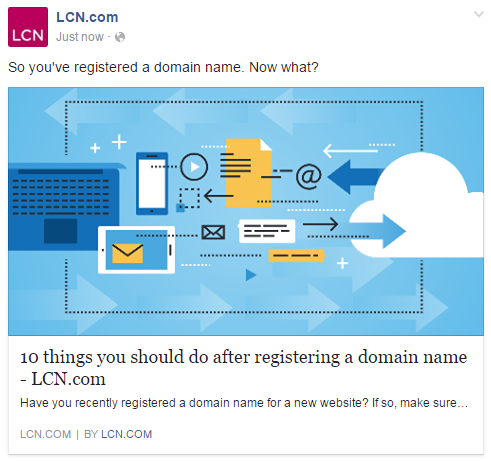
Featured image showing on a Facebook link post
The benefits and usage of featured images will become clearer once you get to grips with WordPress and settle on a theme (design) for your site.
Publish
From the publishing panel (to the top-right of the “Post” page), you can push your post. This will make it live so the world can see it, but there are also a couple of other states your post can be in.
When writing your post for the first time, it will be in “Draft status”.
“Draft” status means your post will not be visible to your website visitors, but this changes as soon as you hit the blue “Publish” button.
Here are a few different published states you may find yourself using…
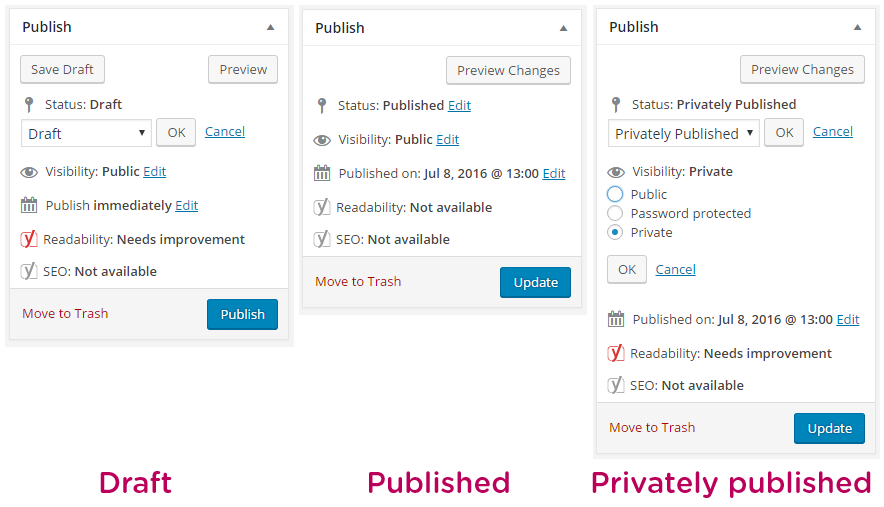
As you can see, you can set “post visibility” to private and even password-protect it – Very useful if you want to send a draft version of your post to someone who doesn’t have user access to your WordPress dashboard.
Once a post is live, you can go back and edit to your heart’s content. Upon doing so you’ll notice the blue “Publish” button has now become an “Update” button. Once finishing any edits to a live post, just hit “Update” to make your changes live.
Adding a page
Adding a new page is nearly exactly the same process as adding a post – they both share the same visual text editor and the same publishing options.
The key difference is, being a static page and not a blog post, pages do not allow you to add an author or categories and tags – so those options won’t be there.
Other than that, everything works the same – WordPress likes to keep things simple!
That’s all there is to it, you’re now ready to publish your content online for the world to see.