Select the SSL certificate in cPanel
You will need to follow the previous articles highlighted in the Install an SSL article before proceeding with this final article.
The final step to installing the SSL certificate is to click on the Manage SSL sites link.

On the Manage SSL Hosts page, click Browse certificates and select the certificate you’ve installed in the previous steps, The domain should be automatically detected however you can choose to select the domains covered by this certificate manually. Please note that the certificate host name must match the domain you install the certificate on in order to present the green padlock in a web browser. If the domain you install the SSL certificate on isn’t covered by the SSL a certificate failed warning will be displayed instead.
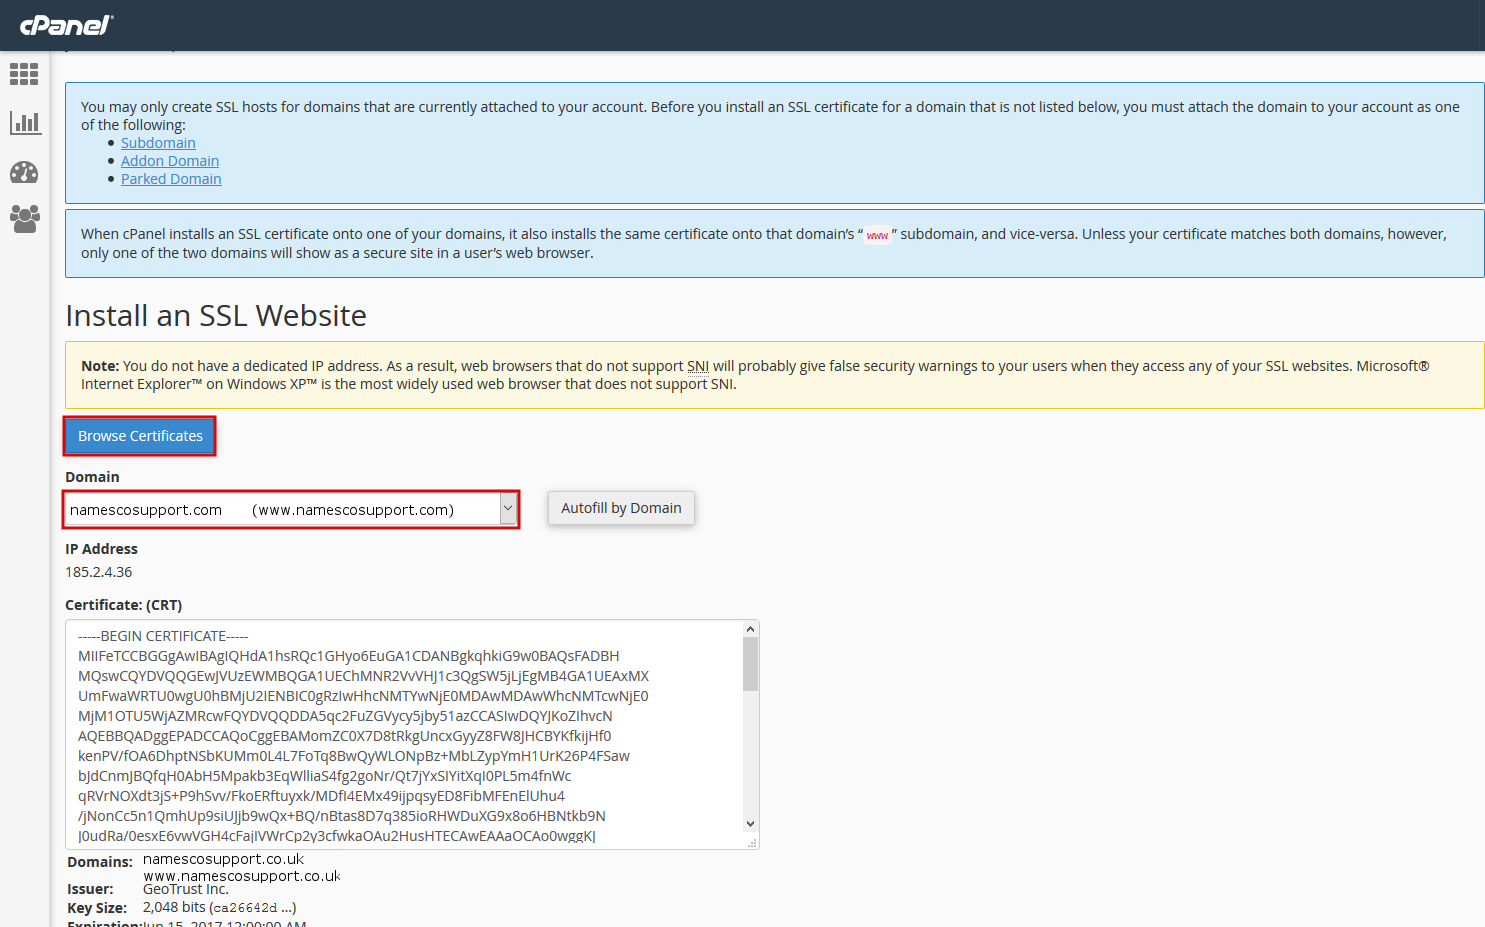
You may need to provide the CA Bundle as well in the box provided (it won’t be automatically populated if the CA isn’t in the cPanel authorities list). The CA should be available from the email or documentation of the certificate authority you purchased the certificate through.
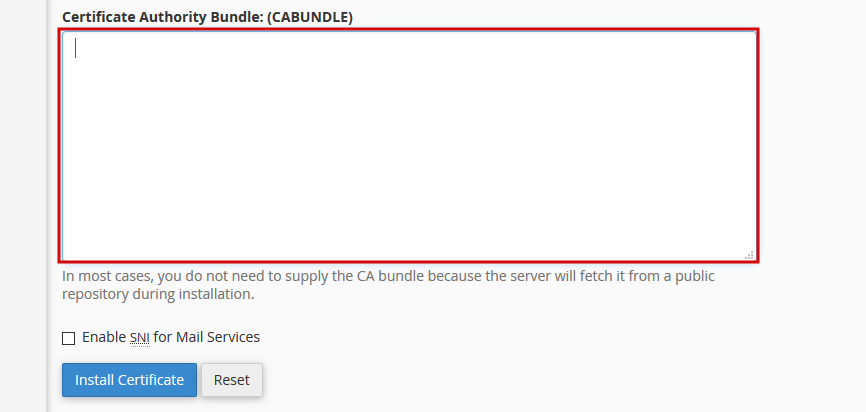
Click Install Certificate to complete the installation process
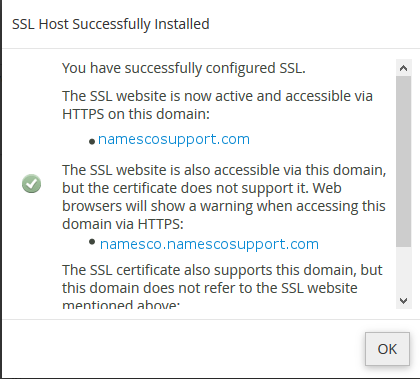
You should now be able to visit your domain via HTTPS. For further information on the TLS/SSL feature within cPanel please refer to the cPanel documentation here