How to add a reCAPTCHA to your WordPress website
This guide will help LCN customers with a WordPress site secure their contact forms, comment sections and other areas of their site with a Google reCAPTCHA to help protect your site from spam and bot abuse.
Let’s get started…
How to register a site for a reCAPTCHA
Before you start you will first need to set up your site with Google to be able to use a Google reCAPTCHA. You can do this using a Google account and logging into your admin console. You can do this from here.
Once logged in you can now register your site with Google with the following steps:
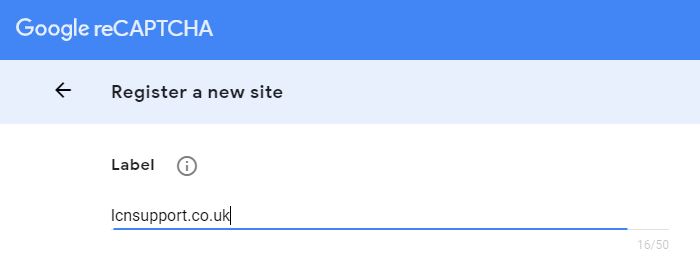
- Enter a Label to help identify the site in the future.
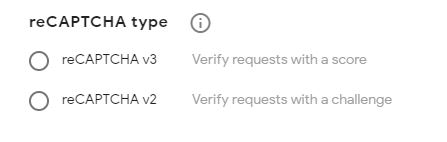
- Choose the type of reCAPTCHA you wish to use. You can find out more about the different options here.
- Under the Domains section enter your domain name.
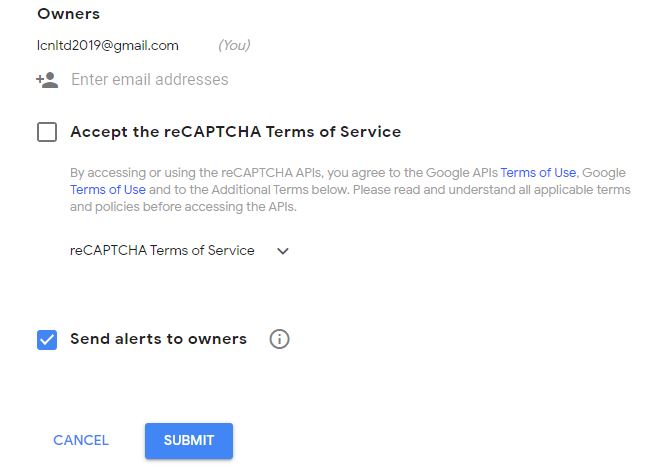
- Under the Owners section choose the emails of the owners of your site. Your Gmail will already be listed but you can add further emails below it.
- Click to Accept the reCAPTCHA Terms of Service and choose if you would like to Send alerts to owners.
- Click SUBMIT.
- You will now be presented with a SITE KEY and SECRET KEY; you will need these to now activate your captcha on your site. Don’t worry if you close the page, you can get the keys again from the settings page.

Adding your reCAPTCHA to your WordPress site
Now you have your Google reCAPTCHA you can now add it to your site.
Have a look at your current plugins for contact forms, sign up or comment sections and check to see if they have the option to integrate a reCAPTCHA. If they do all you should need is your Site Key and Secret Key to enable your reCAPTCHA and make it show on your site.
If you do not have plugins that integrate reCAPTCHA you will need to use a plugin specifically for this. There are many different options so feel free to research and use the one you feel is best for you.
For the rest of this guide, we will show you how to use Google Captcha (reCAPTCHA) by BestWebSoft to add your reCAPTCHA to your WordPress site.
Setting up your reCAPTCHA
- Head to your website and get yourself logged in to your WordPress Dashboard. You can do this by visiting mydomain.co.uk/wp-admin replacing mydomain.co.uk with your domain name.
- Once logged in float your mouse over Plugins within the left-hand panel and click Add New.
- Search for Google Captcha (reCAPTCHA) and click Install Now for Google Captcha (reCAPTCHA) by BestWebSoft.
- Once installed click Activate.
- Under Authentication, you can now add your Site Key and Secret Key.
- Under General choose which version of reCAPTCHA you have.
- Choose where you would like to enable your reCAPTCHA from Enable reCAPTCHA for.
- Scroll down to Hide reCAPTCHA for and choose which members of your site will not see the reCAPTACHA.
- Scroll down and from the last section, you can choose what your Whitelist Notification will be, whether or not you would like Advance Protection and if you would like to Disable Submit Button.
- When finished click Save Changes.
Please Note: Some features require upgrading to Pro; this should not be needed to secure most areas of your site.
That’s it! You have now added a reCAPTCHA to your WordPress site.