How to set up your email account on an Android phone
It’s great to able to access your email on the move. This guide will show you how to set up your email account on an Android phone. For customers using LCN Web hosting, WordPress hosting, Email hosting or LiteMail with an Authenticated SMTP.
Please Note: The setup of your email may vary slightly depending on the make and model of your android device. The guide below was created using Android version 8.0.0 on a Samsung Galaxy A5.
Before you get started, you’ll need to have your email address and password handy. If you can’t remember these details, you can check and reset them from your LCN account.
You will also need to ensure you have Authenticated SMTP enabled. You can find out how to do this here.
Let’s get started…
- Tap the Apps button and locate your built-in email application for your Android phone. (Most likely an icon with an @ symbol or envelope called Email.)
- Open the apps settings and select Add Account. (If this is your first time using your email app you may already be on the Set up account page when you opened the app.)
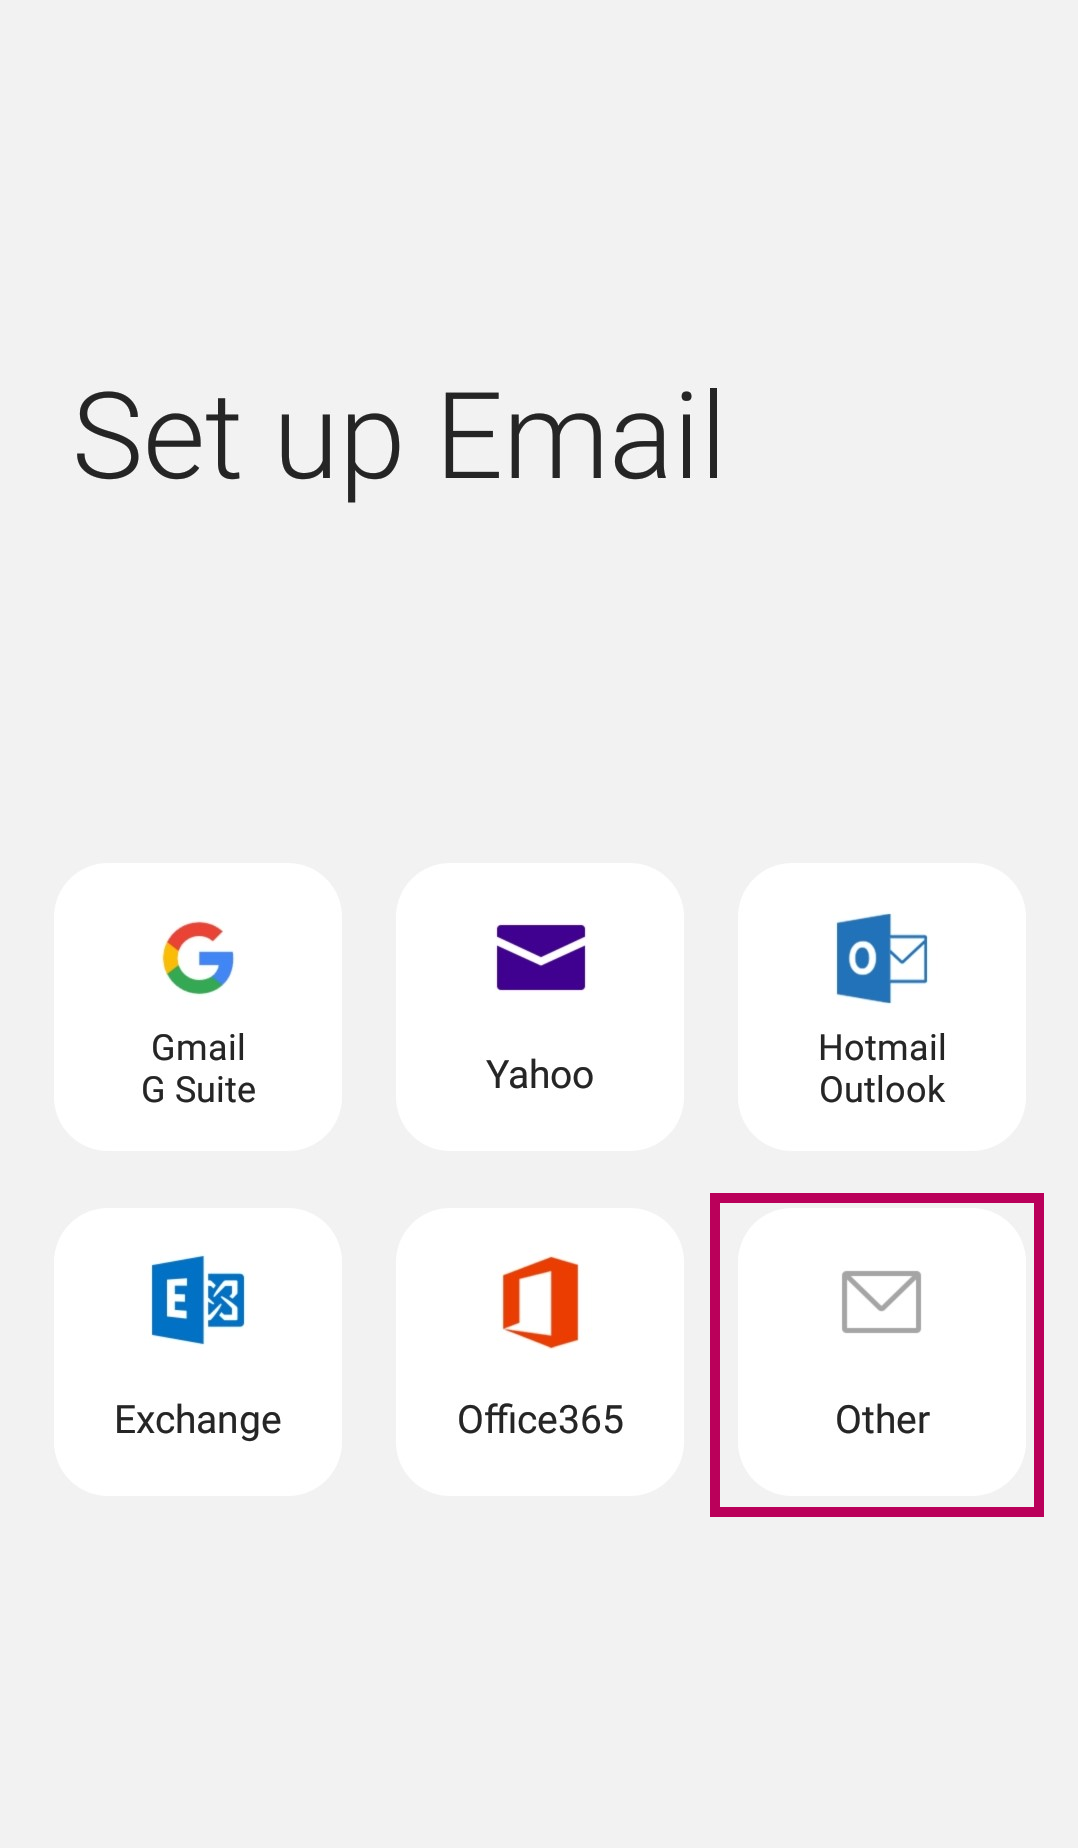
- Select OTHER
- Enter your Email Address and Password in the fields and then tap MANUAL SETUP.
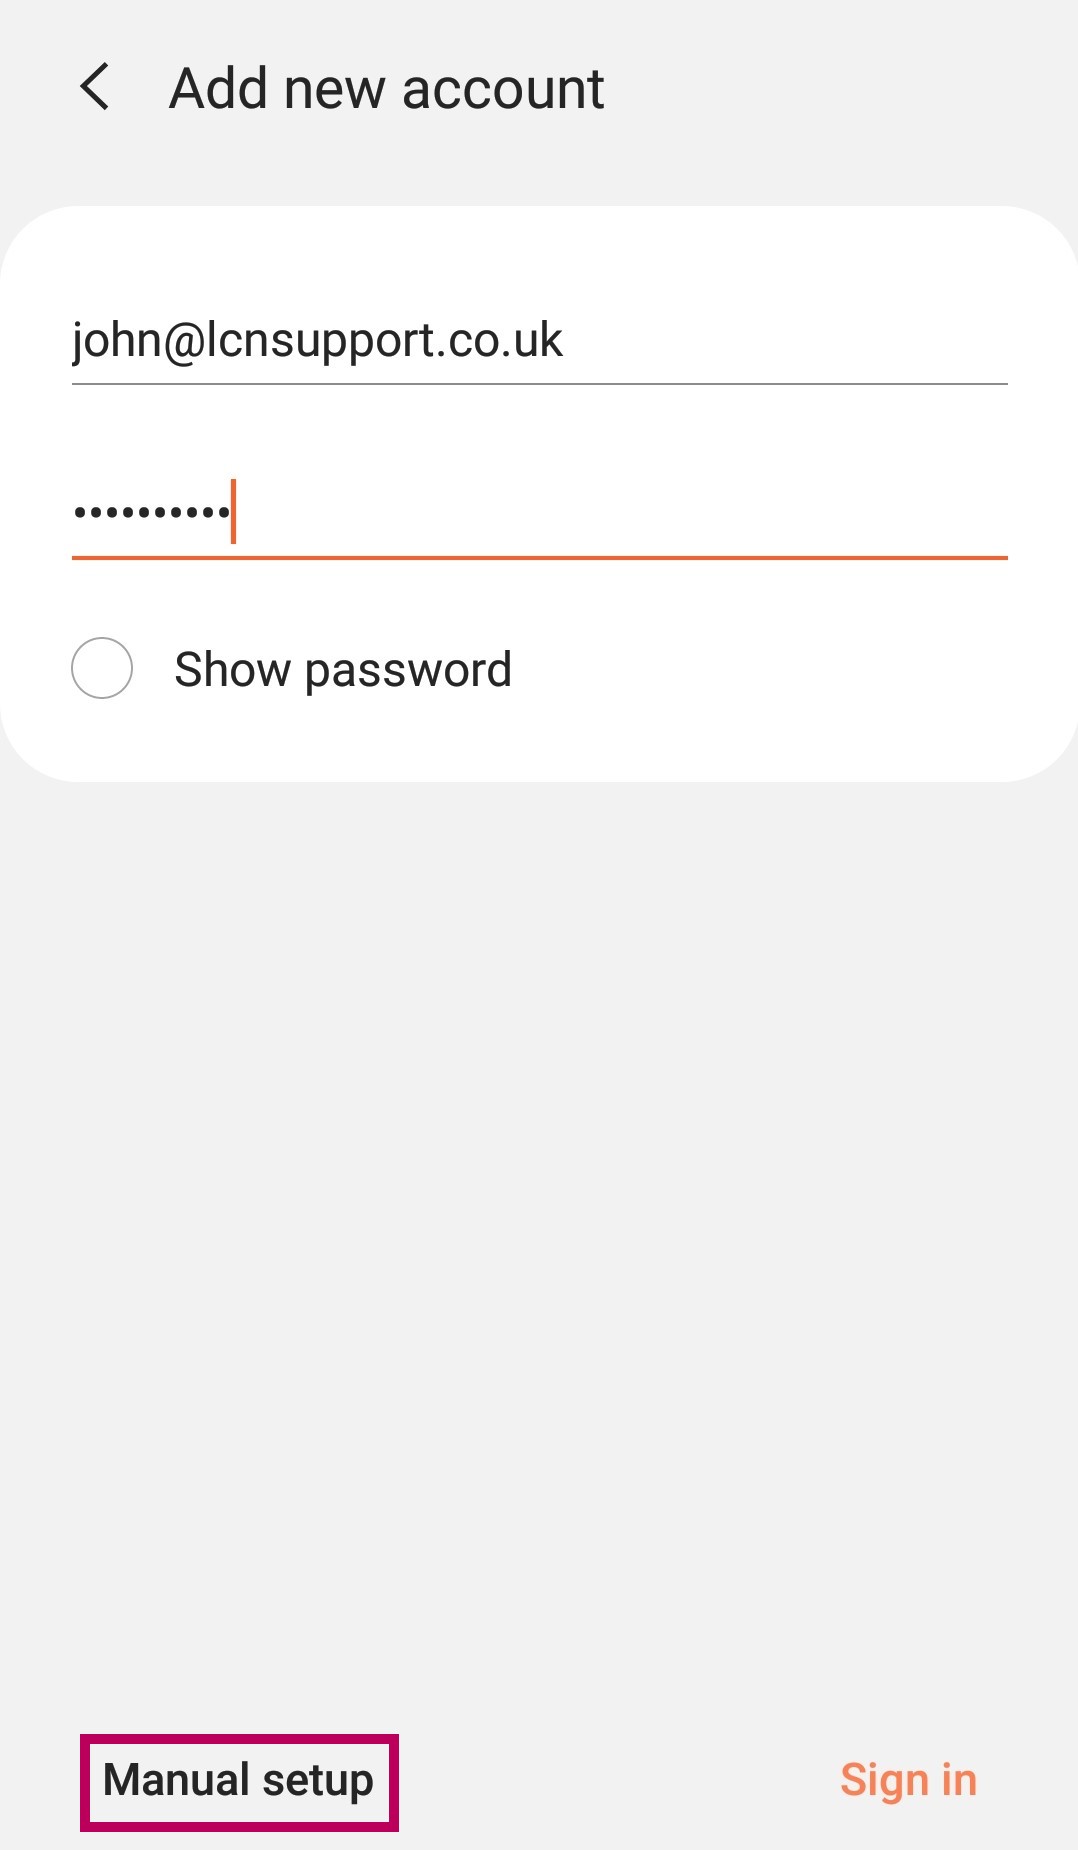
Please Note: It might be helpful to choose Show password to ensure the password is correct if you have this as an option.
- The device will now ask you to Select account type you want to use. Tap IMAP ACCOUNT, alternatively, if you want to use POP3 you can find all the settings you’ll need in our guide.
- Your device will then ask you for your account settings. The following details need to be entered on this screen:
ACCOUNT
- In the Email address field enter your full email address if not populated already.
- Next in the Username field enter your full email address
- In the Password field enter your email password if not populated already.
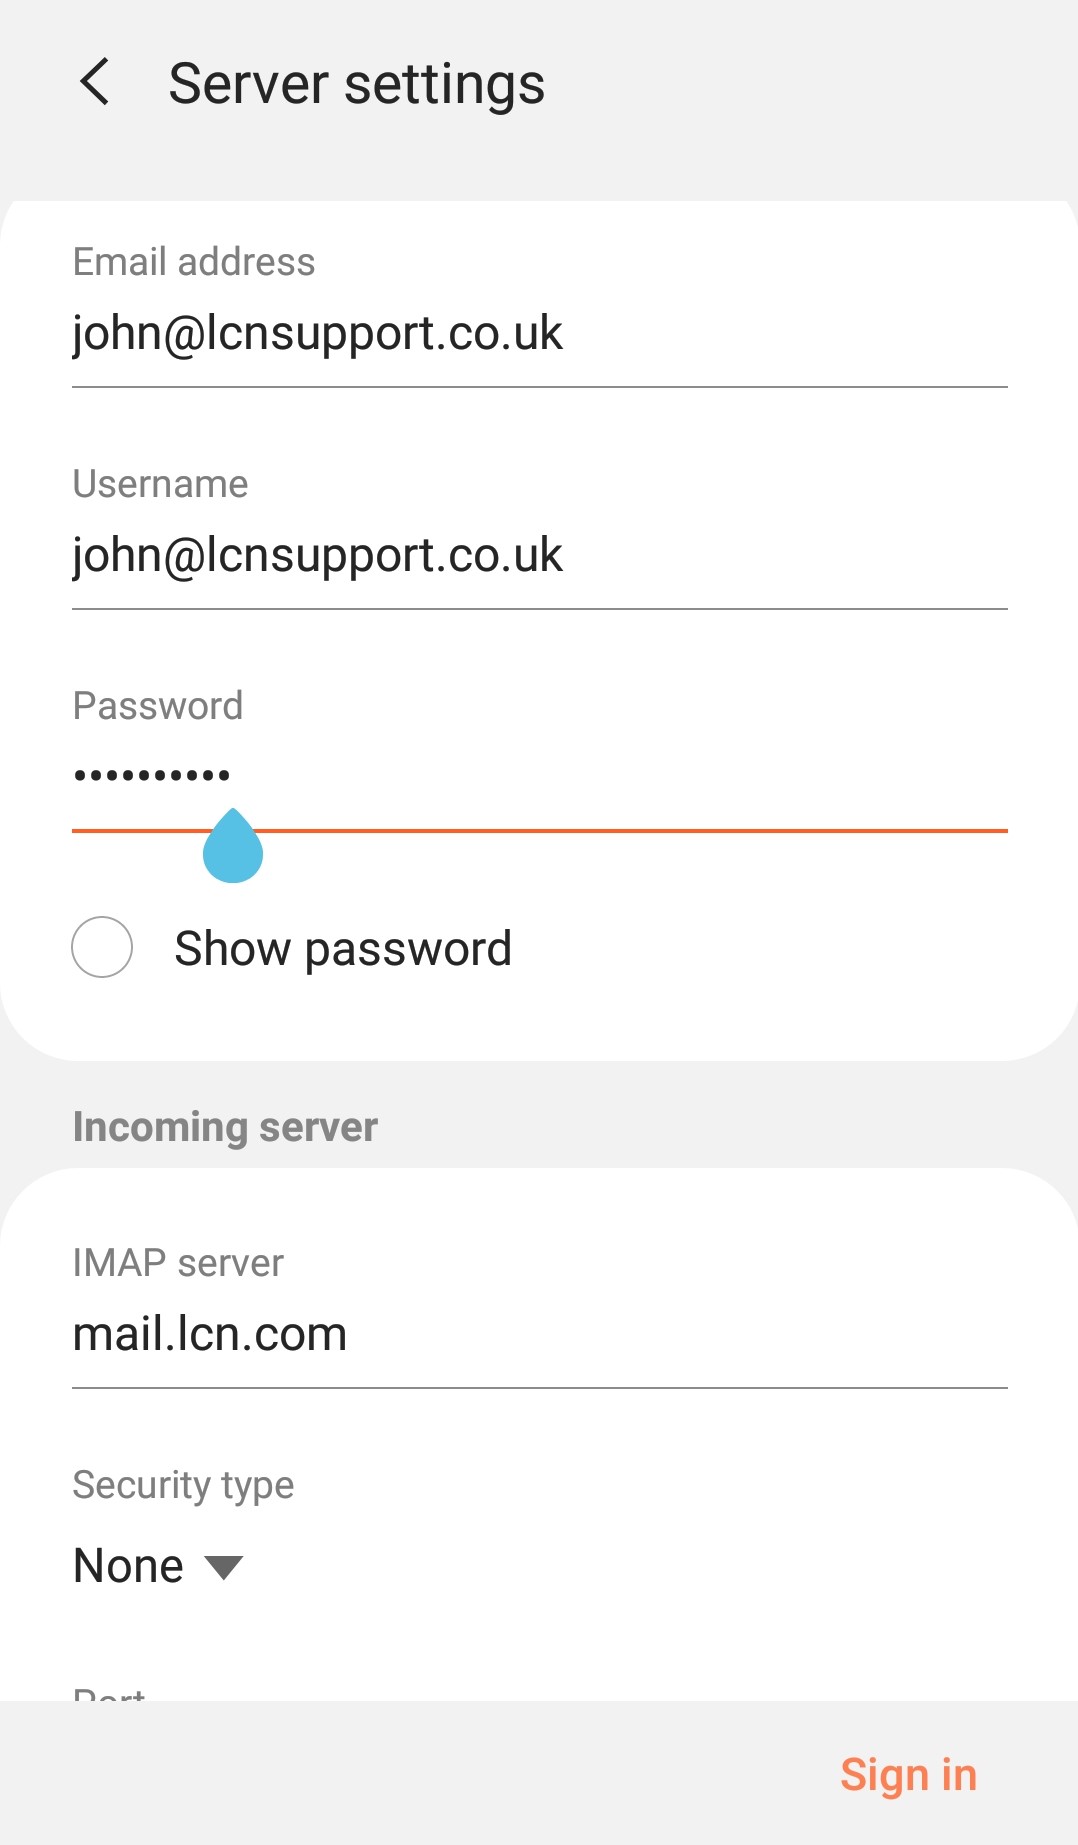
INCOMING SERVER
- In the IMAP server field enter mail.lcn.com
- The Security type needs to be set to none
- The Port should be set to 143
- The IMAP path prefix needs to be left blank
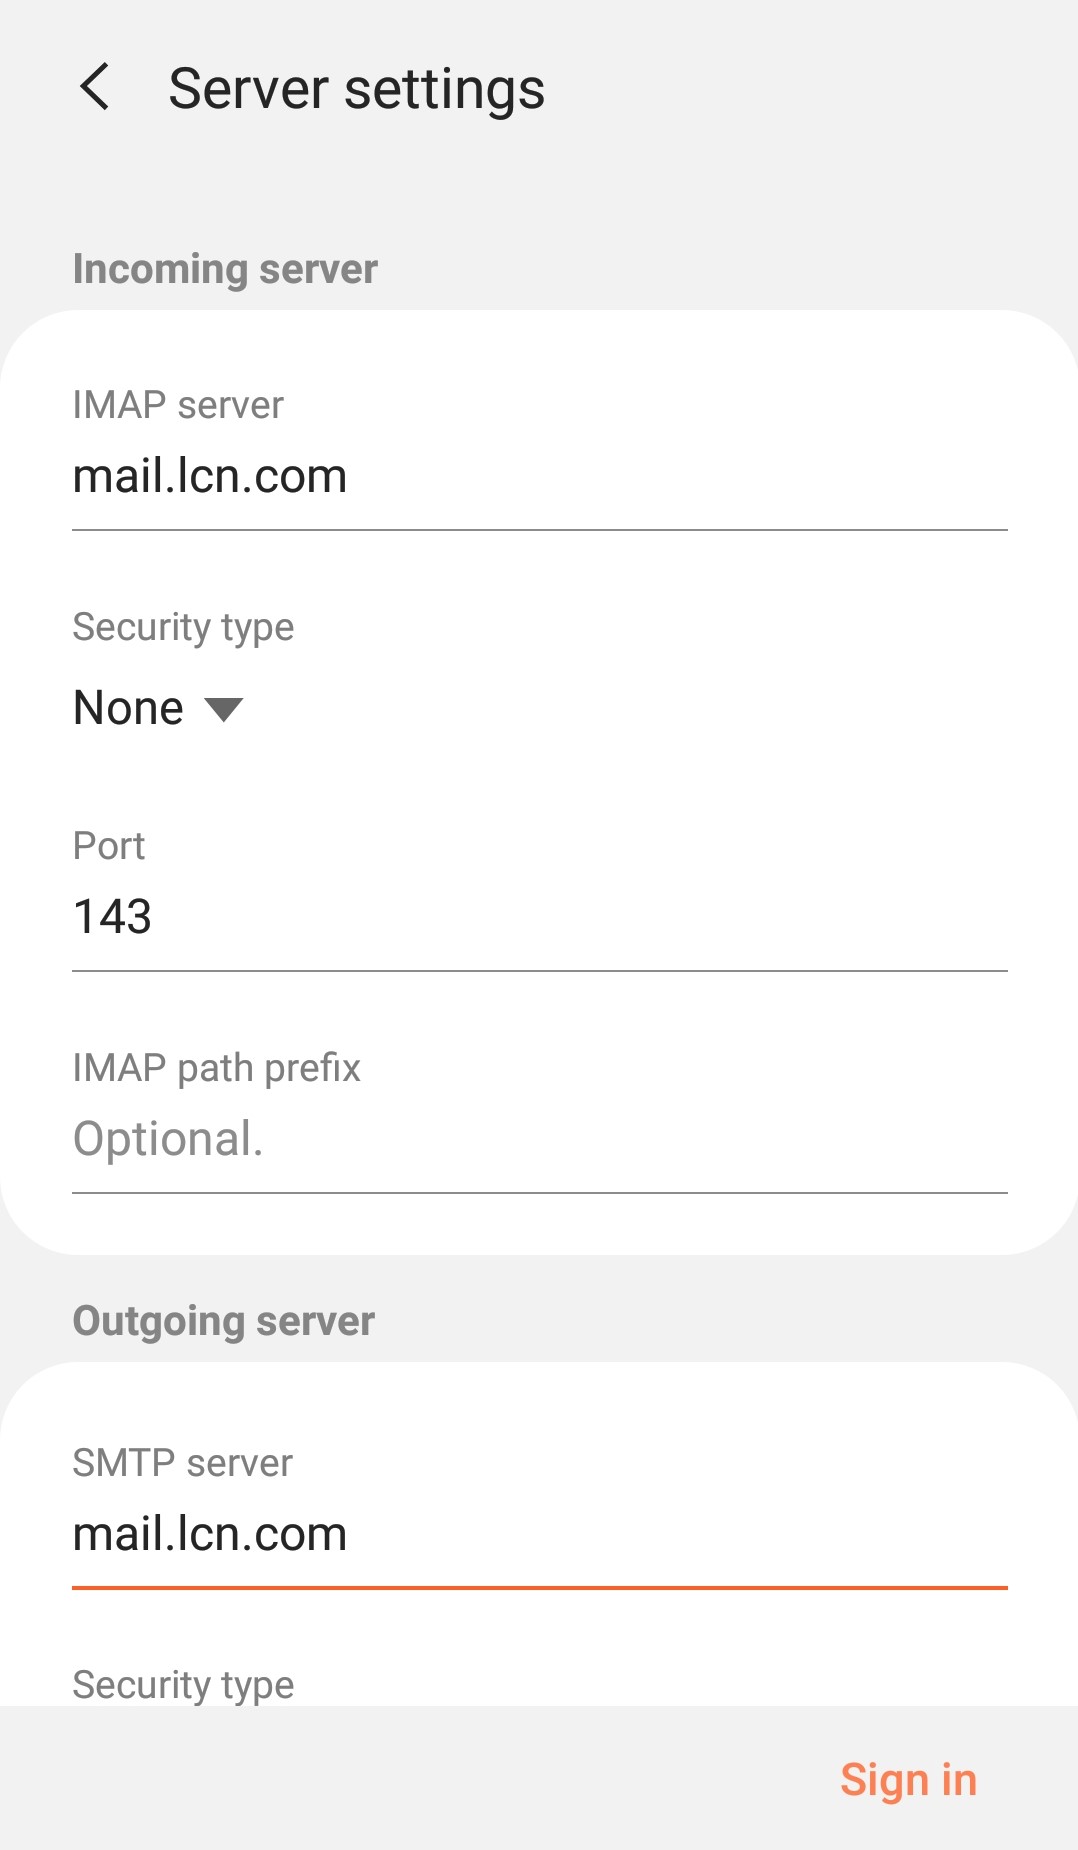
OUTGOING SERVER
- In the SMTP server field enter mail.lcn.com
- The Security type needs to be set to none
- The Port should be set to 25, 26 or 587
- Ensure that Authentication required before sending emails is ticked
- In the Username field enter your full email address
- In the Password field enter your SMTP password
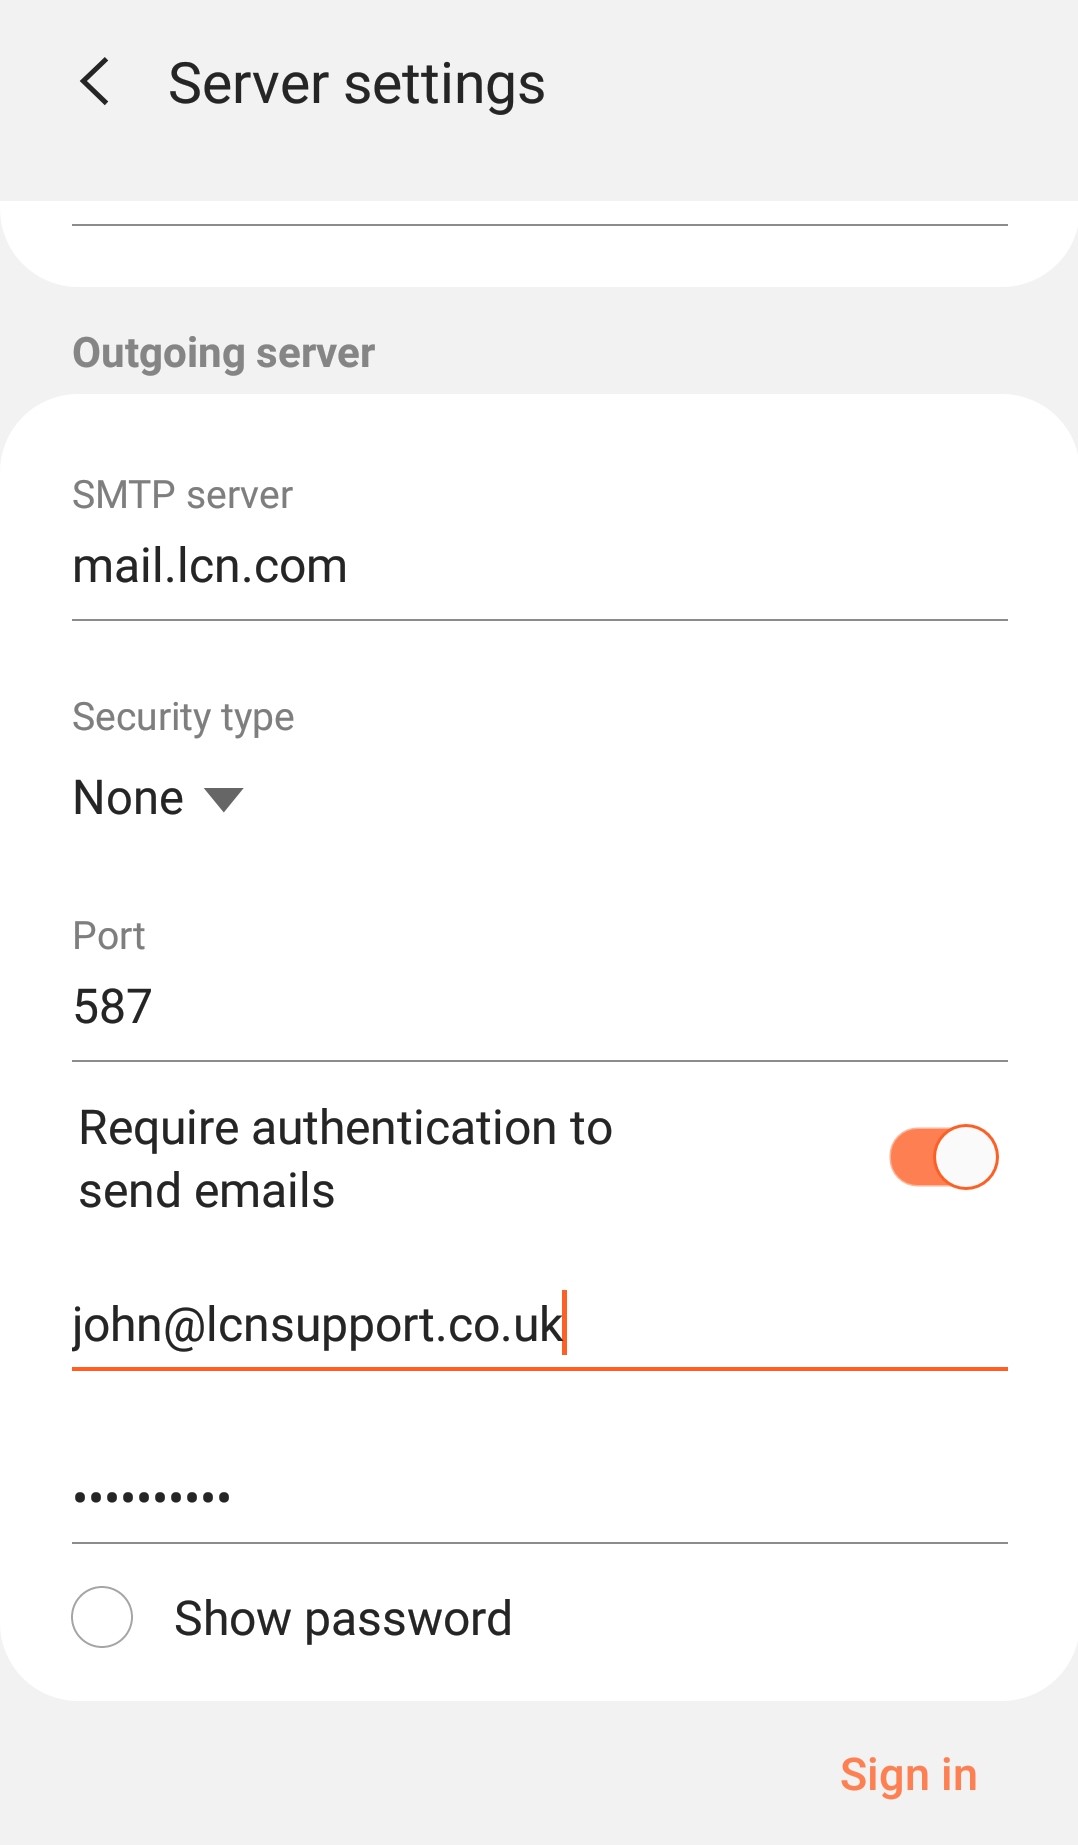
- Once completed click SIGN IN
- The device will attempt to connect to the servers. If you receive any errors, simply choose Cancel and double check your details are correct. Once successful, you will be taken back to the Accounts screen.
Please Note: Depending on your internet service provider, the default port of 25 should allow you to send email. If you find that you are having problems sending email, the first step would be to change the port to 26 or 587. To do this:
- Open your Email application and head back to the Settings.
- Choose your account name and then scroll down to Server Settings.
- Scroll down to the Outgoing Server and change the port to 26 or 587.
That’s it! You’ll now be able to send and receive email using your Android device.