How to manage the SSL Certificate for Managed WordPress
An SSL certificate provides an encrypted connection between people visiting your website and the website itself. This means that any data that passes between the two does so via a secure tunnel.
Managed WordPress provides a FREE SSL certificate with all packages.
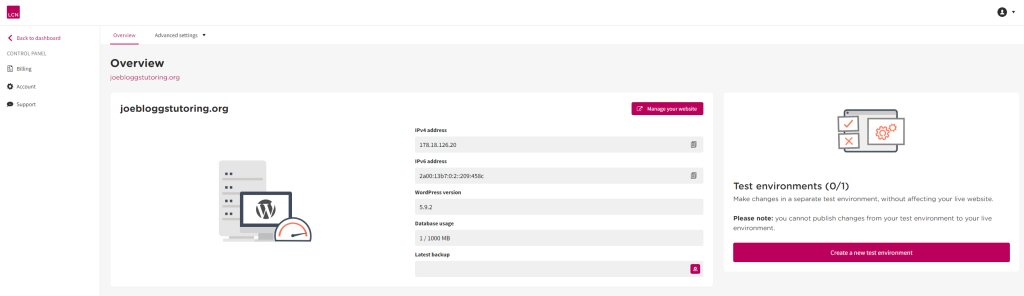
In order to manage this certificate you first need to log into your Managed WordPress Dashboard. The following guide explains how to do this: How to access the Dashboard for Managed WordPress.
Look for the Advanced settings drop-down menu at the top and choose the option SSL.
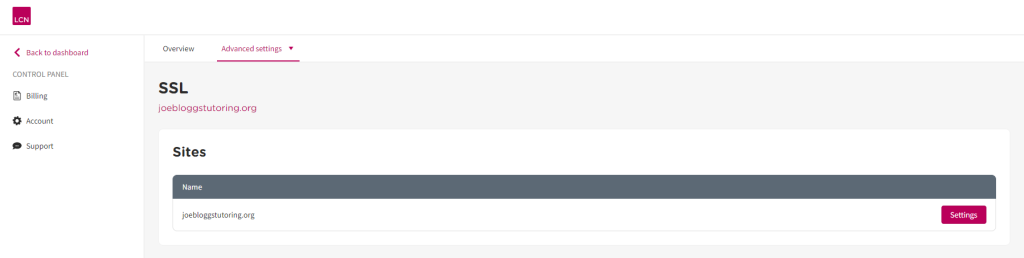
You will see listed any websites which have an active SSL certificate.
Click on the Settings button to the right of the relevant one.
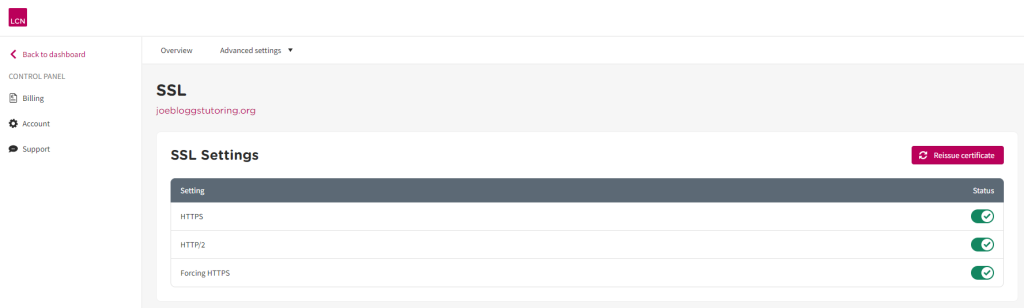
Here you have three options available to you, with a toggle beside each one:
HTTPS: Enable/disable the SSL certificate. Note: disabling your SSL certificate is NOT recommended.
HTTP/2: Enable/disable the newer version of the HTTP protocol. With this enabled, it will provide website visitors using modern web browsers with an optimised and smoother experience, but may prevent those using older computers from viewing your website.
Forcing HTTPS: Enabling this will automatically force use of the SSL certificate onto every website visitor. With it disabled, the SSL certificate will only be in place if people manually specify the protocol as HTTPS when viewing your website.
Need more WordPress help?
Our FREE WordPress e-Book takes you through the process of designing a website and optimising it for SEO, as well as providing a plethora of useful tips and tricks that will soon have you using WordPress like a seasoned pro.