How To Add DMARC
What is DMARC?
To understand what DMARC is and its importance, we recommend reading our dedicated support guide at the following link:
Who is the DMARC Generator designed for?
The DMARC generator is designed for anyone who requires a DMARC record to be generated. E.g. You require one for bulk sending, or just wanting some advanced reporting on why emails are getting rejected.
How to Use our DMARC record Generator
Our DMARC Record generator will create a DMARC record for you and if your Nameservers are with us, we’ll even input the record into your DNS Zone file for you, fully taking the complexity out of DMARC.
Note: If you just want to add a basic DMARC, you can skip the “Configuration Settings” step and simply press “Add DMARC Record”. This will input a basic DMARC rule.
Where to Find the DMARC Generator
Getting Started
To get started, you first need to log into your Online Control Panel. Unsure how to do so? Follow our guide HERE
Step One
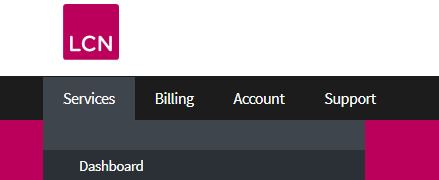
In your Control Panel, go to Services and select Dashboard.
Step Two
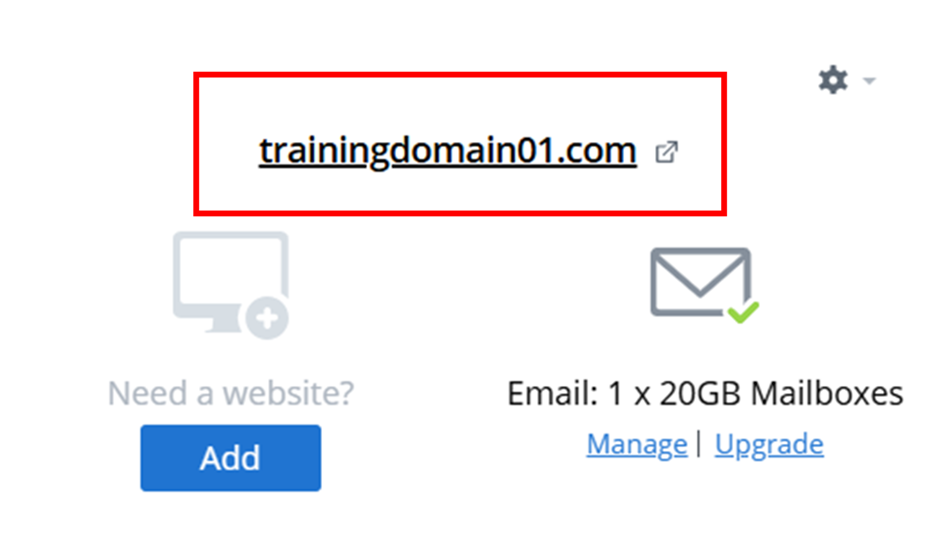
In your Dashboard, click the name of the domain you want to add an DMARC record to.
Step Three
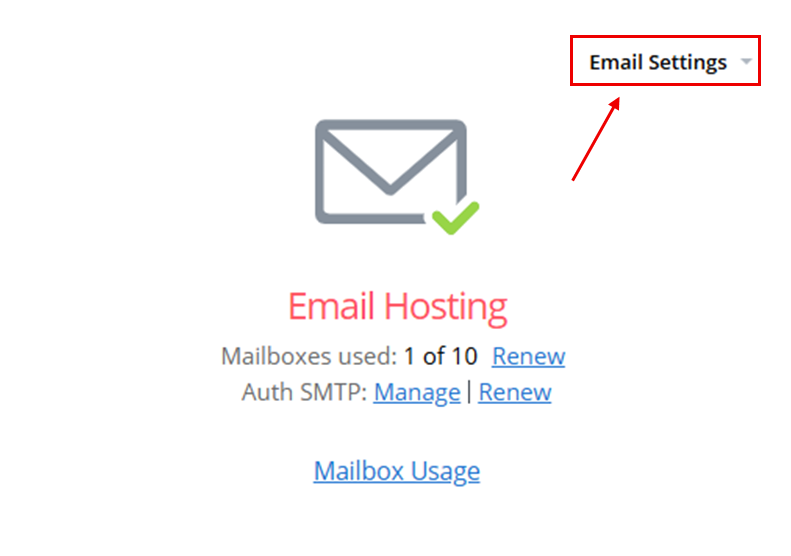
Near the right-hand side of the page, click the menu for Email Settings. Then, select any of the drop-down options that appear.
Step Four
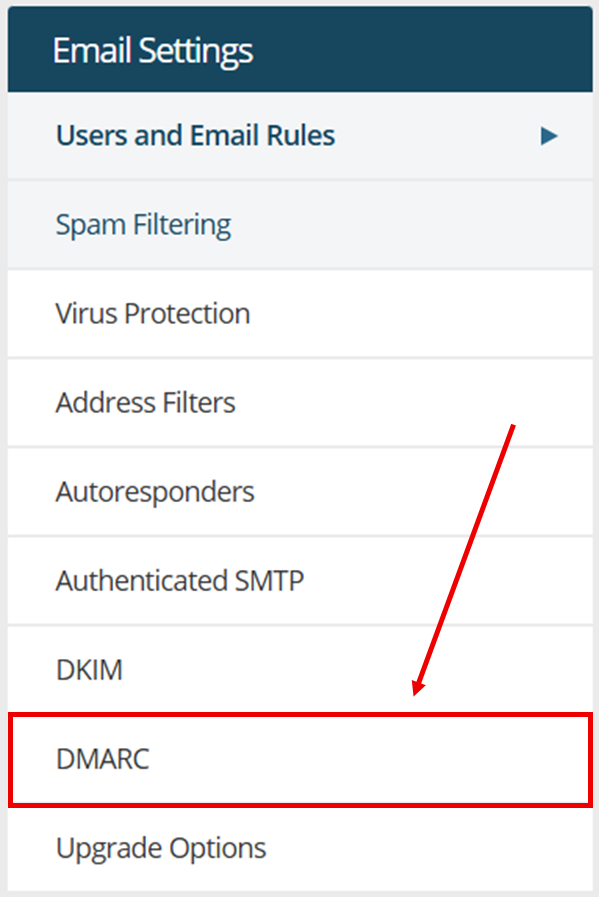
In the menu column on the left, select DMARC.
There are several options for configuring a DMARC policy. They are:
- Policy Failure Action
- Participation Rate
- Notification Email
- Sub-Domain Policy Failure Action
- DKIM Alignment
- SPF Alignment
Policy Failure Action
This is the only required field when using our DMARC generator. The Policy Failure Action advises the receiving mail server on what you want to happen if the DMARC policy fails SPF and or DKIM alignment. Your options are:
- None – This should be used if you wish to understand and gain visibility on your emails without making changes.
- Quarantine – Advises the receiving email server to treat the email as suspicious. Most commonly, the email will land in their spam folder.
- Reject – This will request that the receiving email server outright rejects the email if it fails SPF/DKIM alignment.
If you’re unsure what to fill here, we recommend selecting “None” or “Quarantine”.
Participation Rate
A percentage of emails that the incoming email server will check for it’s DKIM and SPF compliance. For example, if you set this rate to 50 then only half the emails will be checked in compliance with your DMARC record, and the other half will follow the servers default SPF and DKIM checks.
This is uncommonly used and if you’re unsure, it’s best to keep this blank.
Notification Email
This is the email address to which you would like DMARC reports sent to. This is an extremely useful tool if you wish to analyse why your emails may be failing SPF or DKIM checks.
If you want to receive reports to multiple addresses, simply select the “Add Another Email Address” button.
Sub-Domain Policy Failure Action
This section is the same as “Policy Failure Action” but is specifically for email generating from a subdomain such as example@subdomain.example.com. If you only send emails from your root domain (e.g., example@example.com), then you can choose to leave this section as “None” or “Reject”.
To recap, the options here are:
- None – This should be used if you wish to understand and gain visibility on your emails without making changes.
- Quarantine – Advises the receiving email server to treat the email as suspicious. Most commonly, the email will land in their spam folder.
- Reject – This will request that the receiving email server outright rejects the email if it fails SPF/DKIM alignment.
DKIM Alignment
In this drop down, you can select how you want your DMARC policy to align with your DKIM record. It’s important to only fill this section in if you’re actively using DKIM. You can check if you’re using DKIM from the DNS section of your Control Panel.
Your options in this section are:
- Relaxed – A relaxed alignment means that the DKIM domain and the domain in the Header From (located within the header of each sent email) must be an exact match or must match a child domain. This includes subdomains (e.g. email.example.com).
- Strict – Selecting a strict alignment means that the DKIM domain and the domain in the Header From domain must be an exact match. If you were to use a subdomain for example, then the DMARC record check should fail here and it will follow your policy set in Policy Failure Action section.
SPF Alignment
In this drop down, you can select how you want your DMARC policy to align with your SPF record. It’s important to only fill this section if you have a valid SPF record in your DNS. You can check for an SPF record in your domain’s DNS settings and it should look something like the following: v=spf1 include:spf.hosts.co.uk ~all depending on who you use for your email provider.
Your options in this section are:
- Relaxed – A relaxed alignment means that the SPF matches that in the domain in the Header From (located within the header of each sent email) must be an exact match or must match a child domain. This includes subdomains (e.g. email.example.com)
- Strict – Selecting a strict alignment means that the SPF domain and the domain in the Header From must be an exact match. If you were to use a subdomain for example, then the DMARC record check should fail here and it will follow your policy set in Policy Failure Action section.
How To Generate your DMARC Record
Once you have configured the DMARC options, you simply need to select “Generate”. If your Nameservers are with us, then your newly generated DMARC policy will be auto inserted into your DNS settings.
Note: Due to DNS propagation you’ll need to allow 24 – 48 hours for the DMARC policy to become live.
If you have any questions regarding this tool, or need further assistance please contact our support team on 0345 363 3634 or raise a support ticket via your Online Control Panel.