How to manage databases on Cloud hosting using cPanel
This guide will explain how to create and manage databases for domains on Cloud hosting using cPanel
Adding a database:
To create a database in cPanel you will first need to add a domain account via the WHM control panel.
Then log in to cPanel using the username/password for the domain account or via the link from the WHM control panel.![]()
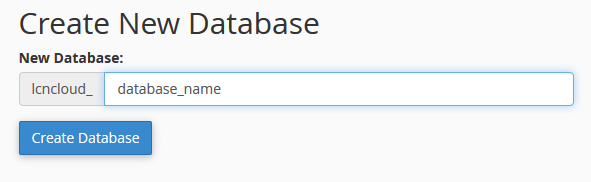
Enter a database name and select ‘Create Database’:
You can then create a new database user or add access to an existing database user to the new database you have created.
Adding database users:
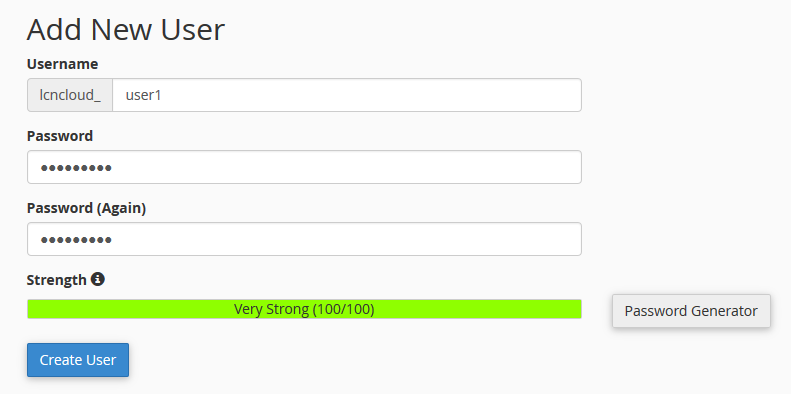
To create a database user, fill out the required fields to set the database username and password and select ‘create user’. You can enter a password manually, or click the password generator link to automatically generate a strong password for the database user.
Adding users to databases
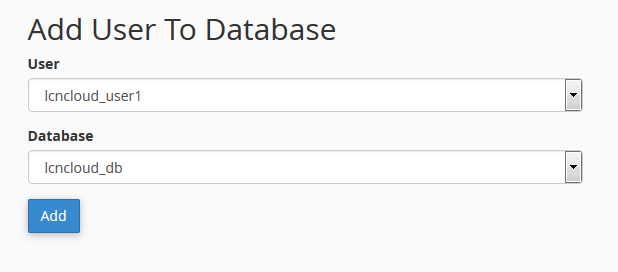
You can then assign the database user, to the database you have created by selecting the database username and database name in the drop-down menus provided and selecting ‘Add’.
Accessing Phpmyadmin:
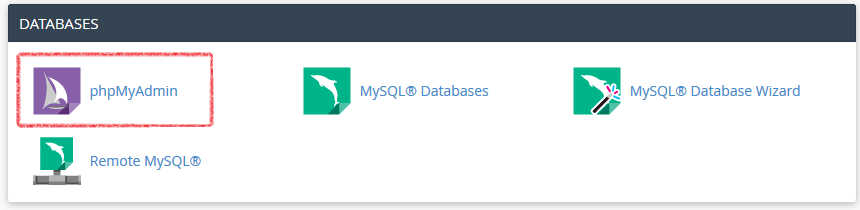
To log in to Phpmyadmin select the Phpmyadmin icon in cPanel:
This should automatically log you in to access databases via Phpmyadmin.
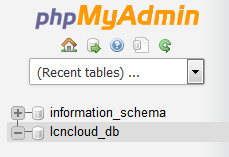
To manage databases in Phpmyadmin, select the database name that you want to manage from the column on the left side of the page:
You can then select from the options in the header area of the page, to import/export, edit, manage or browse the database contents:
