Green Web Hosting: How to install WordPress, Joomla, Drupal
Installation Guide
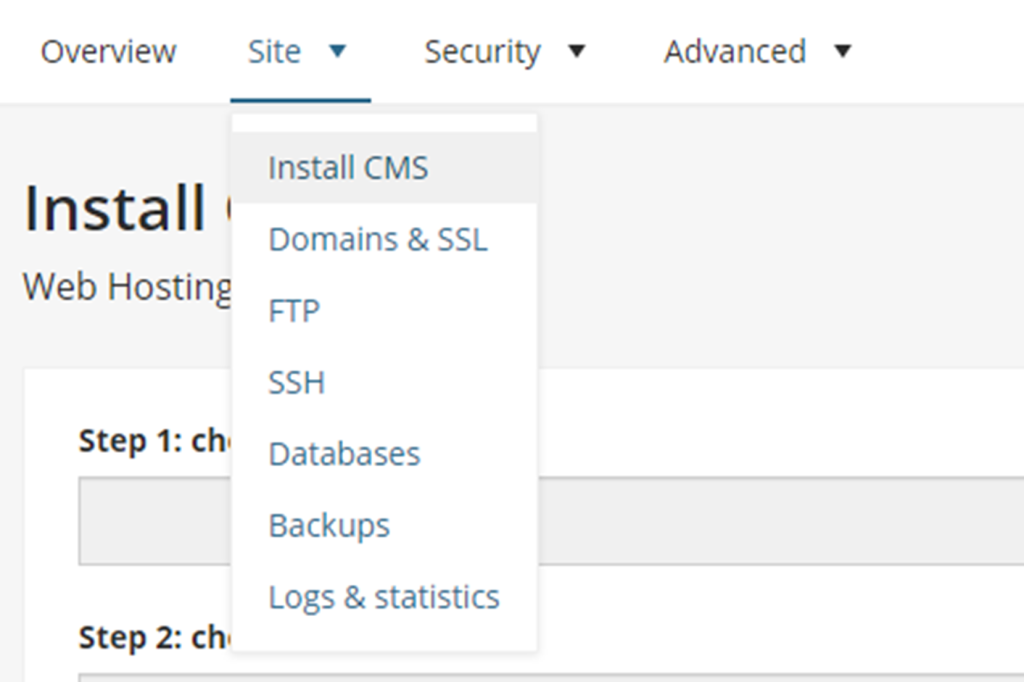
When installing a CMS such as WordPress, it can all be done from the Install CMS page under the Site tab.
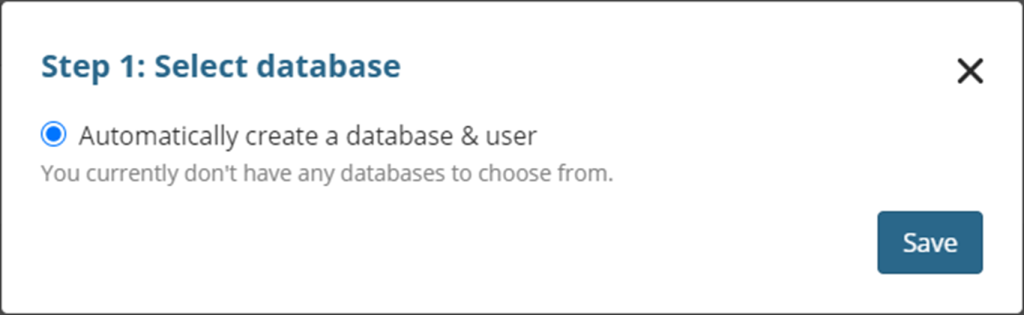
Step 1
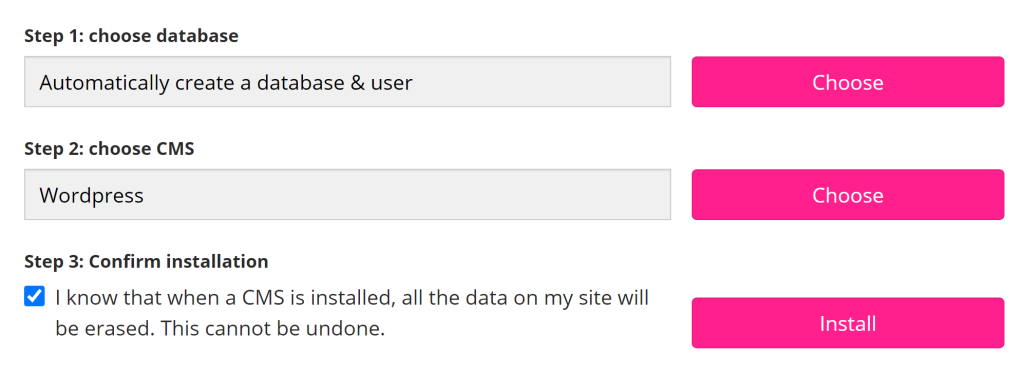
First a database needs to be chosen to install. By clicking choose, a pre-existing database can be chosen, or a new one can be automatically created if one has not been made yet.
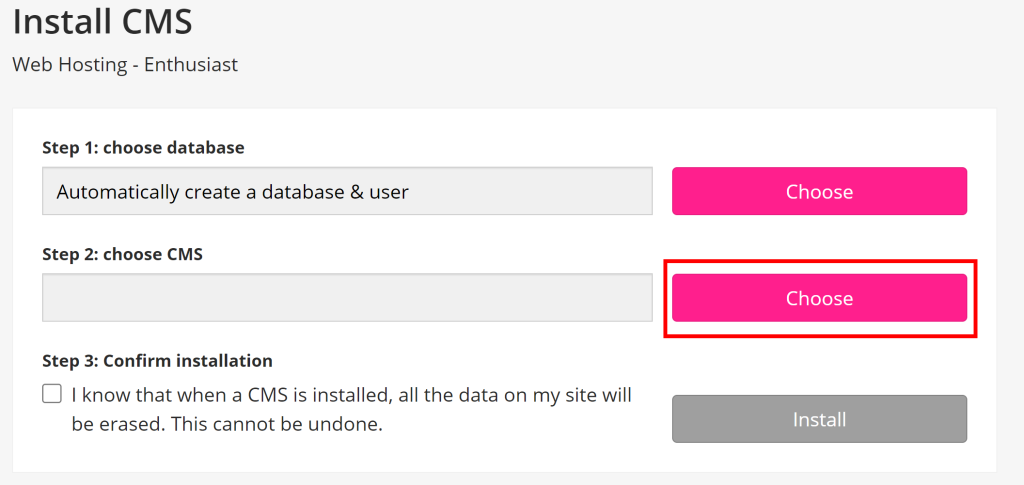
Step 2
Now you can click choose by the “Step 2: Choose CMS” box to choose your CMS.
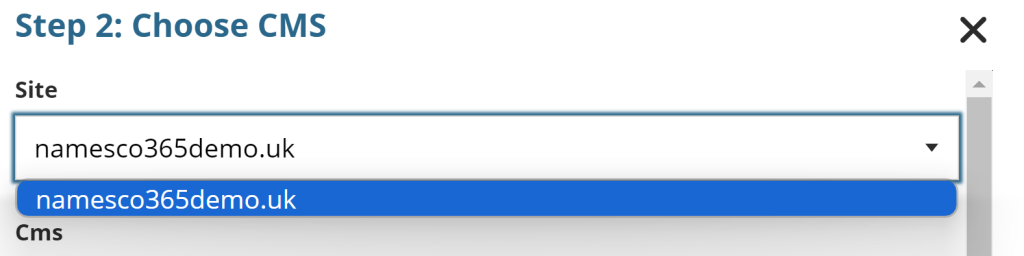
Step 3
Now the Choose CMS window is open, all the details needed can be put in place.
The first box is where you can choose your domain, if you have multiple domains attached to the hosting you can select which one you would like to add the CMS to.
Step 4
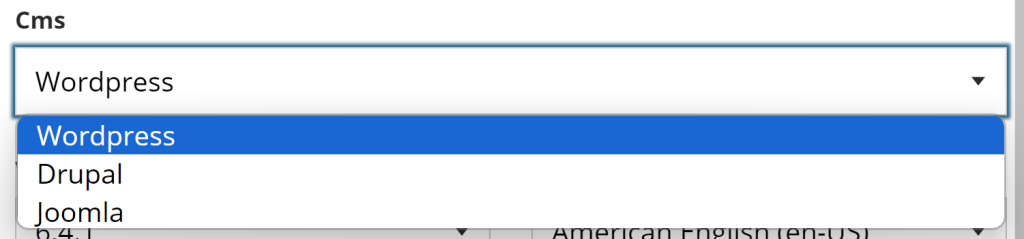
Now choosing the CMS. WordPress is the first option in this but you can also choose Drupal and Joomla. Note: It does not have Joomla 5.
Click the drop-down box and select the one needed.
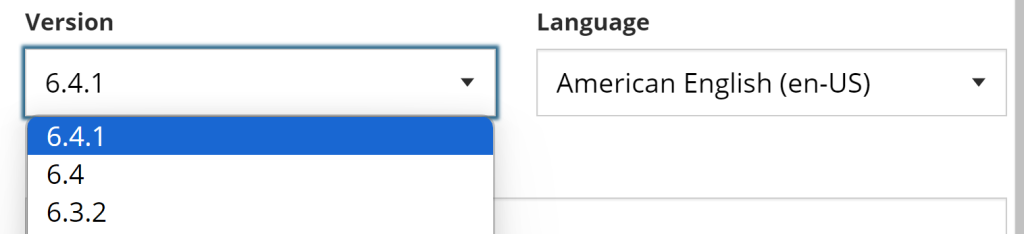
Below is where you would pick the version of the CMS you want and the language. In this example we have chosen WordPress 6.4.1 in American English.
Step 5
The next few boxes are for you login details. Here you need to create a username and password and input your email address. This is to log into your CMS such as the WordPress Admin to start creating your website.
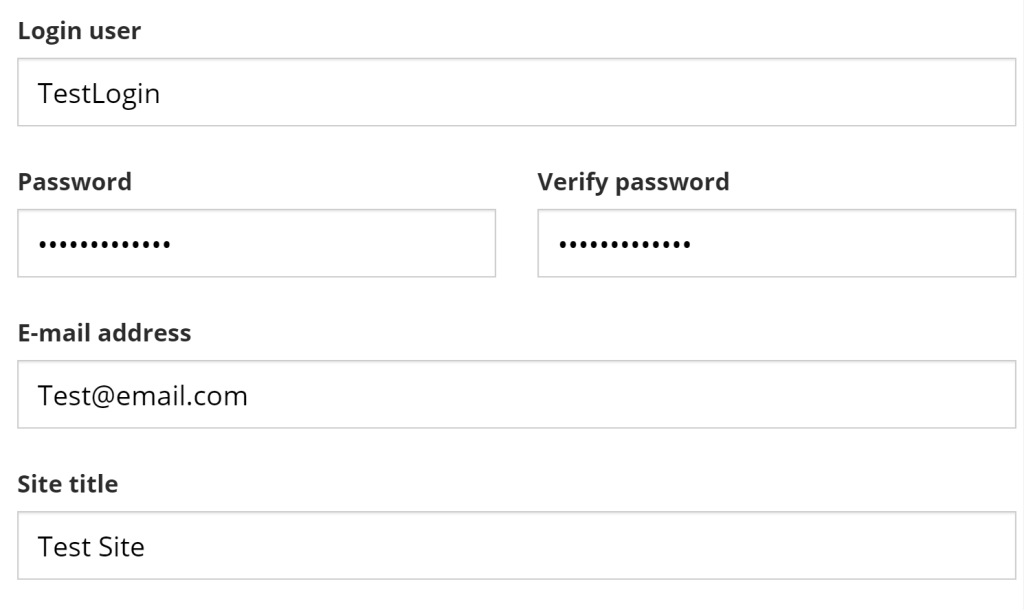
The final box will be your site title.
Step 6
To install the CMS the tick box “I know that when a CMS is installed, all the data on my site will be erased. This cannot be undone.” Will need to be ticked before continuing. Now you can click install and the install process will start.
If you have any further questions, simply raise a support request from within your Online Control Panel or call us on 0345 363 3637. Our Support team are here to help and ready to assist you with your enquiry.
For assistance raising a support request please follow the following guide.