How to set up your email account in Outlook 2010
This guide will explain how to set up your email address in Microsoft Outlook 2010. For customers using LCN web hosting, WordPress hosting, Email hosting or LiteMail with an Authenticated SMTP.
Before you get started, you’ll need to have your email address and password handy. If you can’t remember these details, you can check and reset them from your LCN account.
You will also need to ensure you have Authenticated SMTP enabled. You can find out how to do this here.
If you’re looking for a guide on other versions of Outlook, you can find these below:
How to set up your email account in Outlook 2013
How to set up your email account in Outlook 2016
How to set up your email account in Outlook 2019
How to setup your email account on Outlook for Mobile
How to set up your email account in Outlook 2019 for Mac
Let’s get started…
Automatic Setup
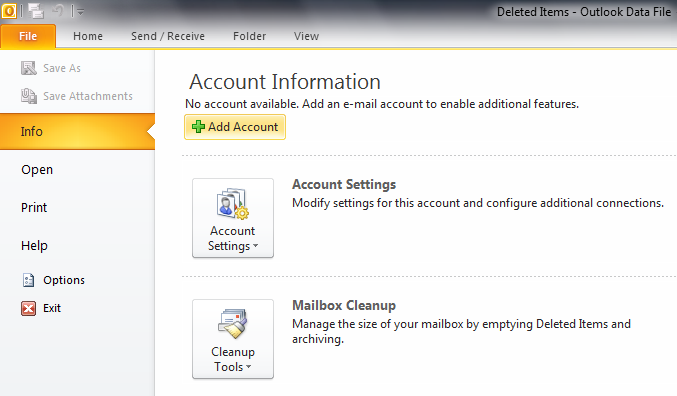
- Click File and select Add Account.
- Place the following settings in the Email Account section under Auto Account Setup:
- Enter your full name in the Your Name field
- Enter your email address in the Email Address field
- Enter your password in the Password field
- Confirm your password again in the Retype Password field
- Click Next to begin the Auto Account Setup process.
- If a pop-up box appears asking to allow your email service provider to configure server settings, click Allow.
- Once you receive a message telling you that set-up is complete, click Finish.
Manual Setup
If the above steps fail, you can try again using the Manually configure server settings or additional server types option, select Next and follow the steps below:
- Select Internet E-mail and click Next.
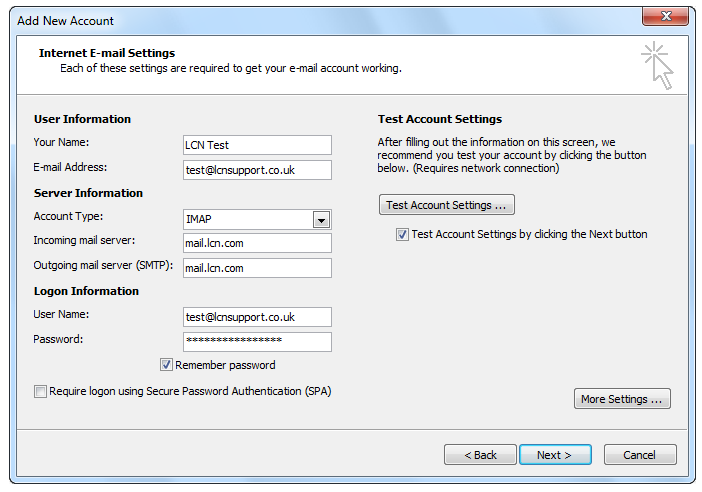
- On the Add New Account window enter the following information:
- In the User Information section, enter Your Name and E-mail Address
- Choose IMAP in the Account Type dropdown
- In the Incoming mail server field, enter mail.lcn.com
- In the Outgoing mail server (SMTP) field, enter mail.lcn.com
- Enter your full email address into the User Name text box
- Enter your email address password into the Password field
- Click More Settings and select the Outgoing Server tab.
- Tick My outgoing server (SMTP) requires authentication and ensure Use same settings as my incoming mail server is selected.
- Click OK and select Finish.

- Outlook 2010 will test your email account and two green ticks will appear if all the information is entered correctly.
Please Note: If two green ticks do not appear, please ensure there is no spelling mistakes in any of the account settings.
- Once testing is complete, click Close.
That’s it! You’ve now completed your email setup on Outlook 2010.
Please Note: Depending on your internet service provider, the default port of 25 should allow you to send email. If you find that you are having problems, the first step would be to change the port from 25 to 26 or 587. This can be done by choosing More settings, Advanced and changing the outgoing server (SMTP) port to 26 or 587.